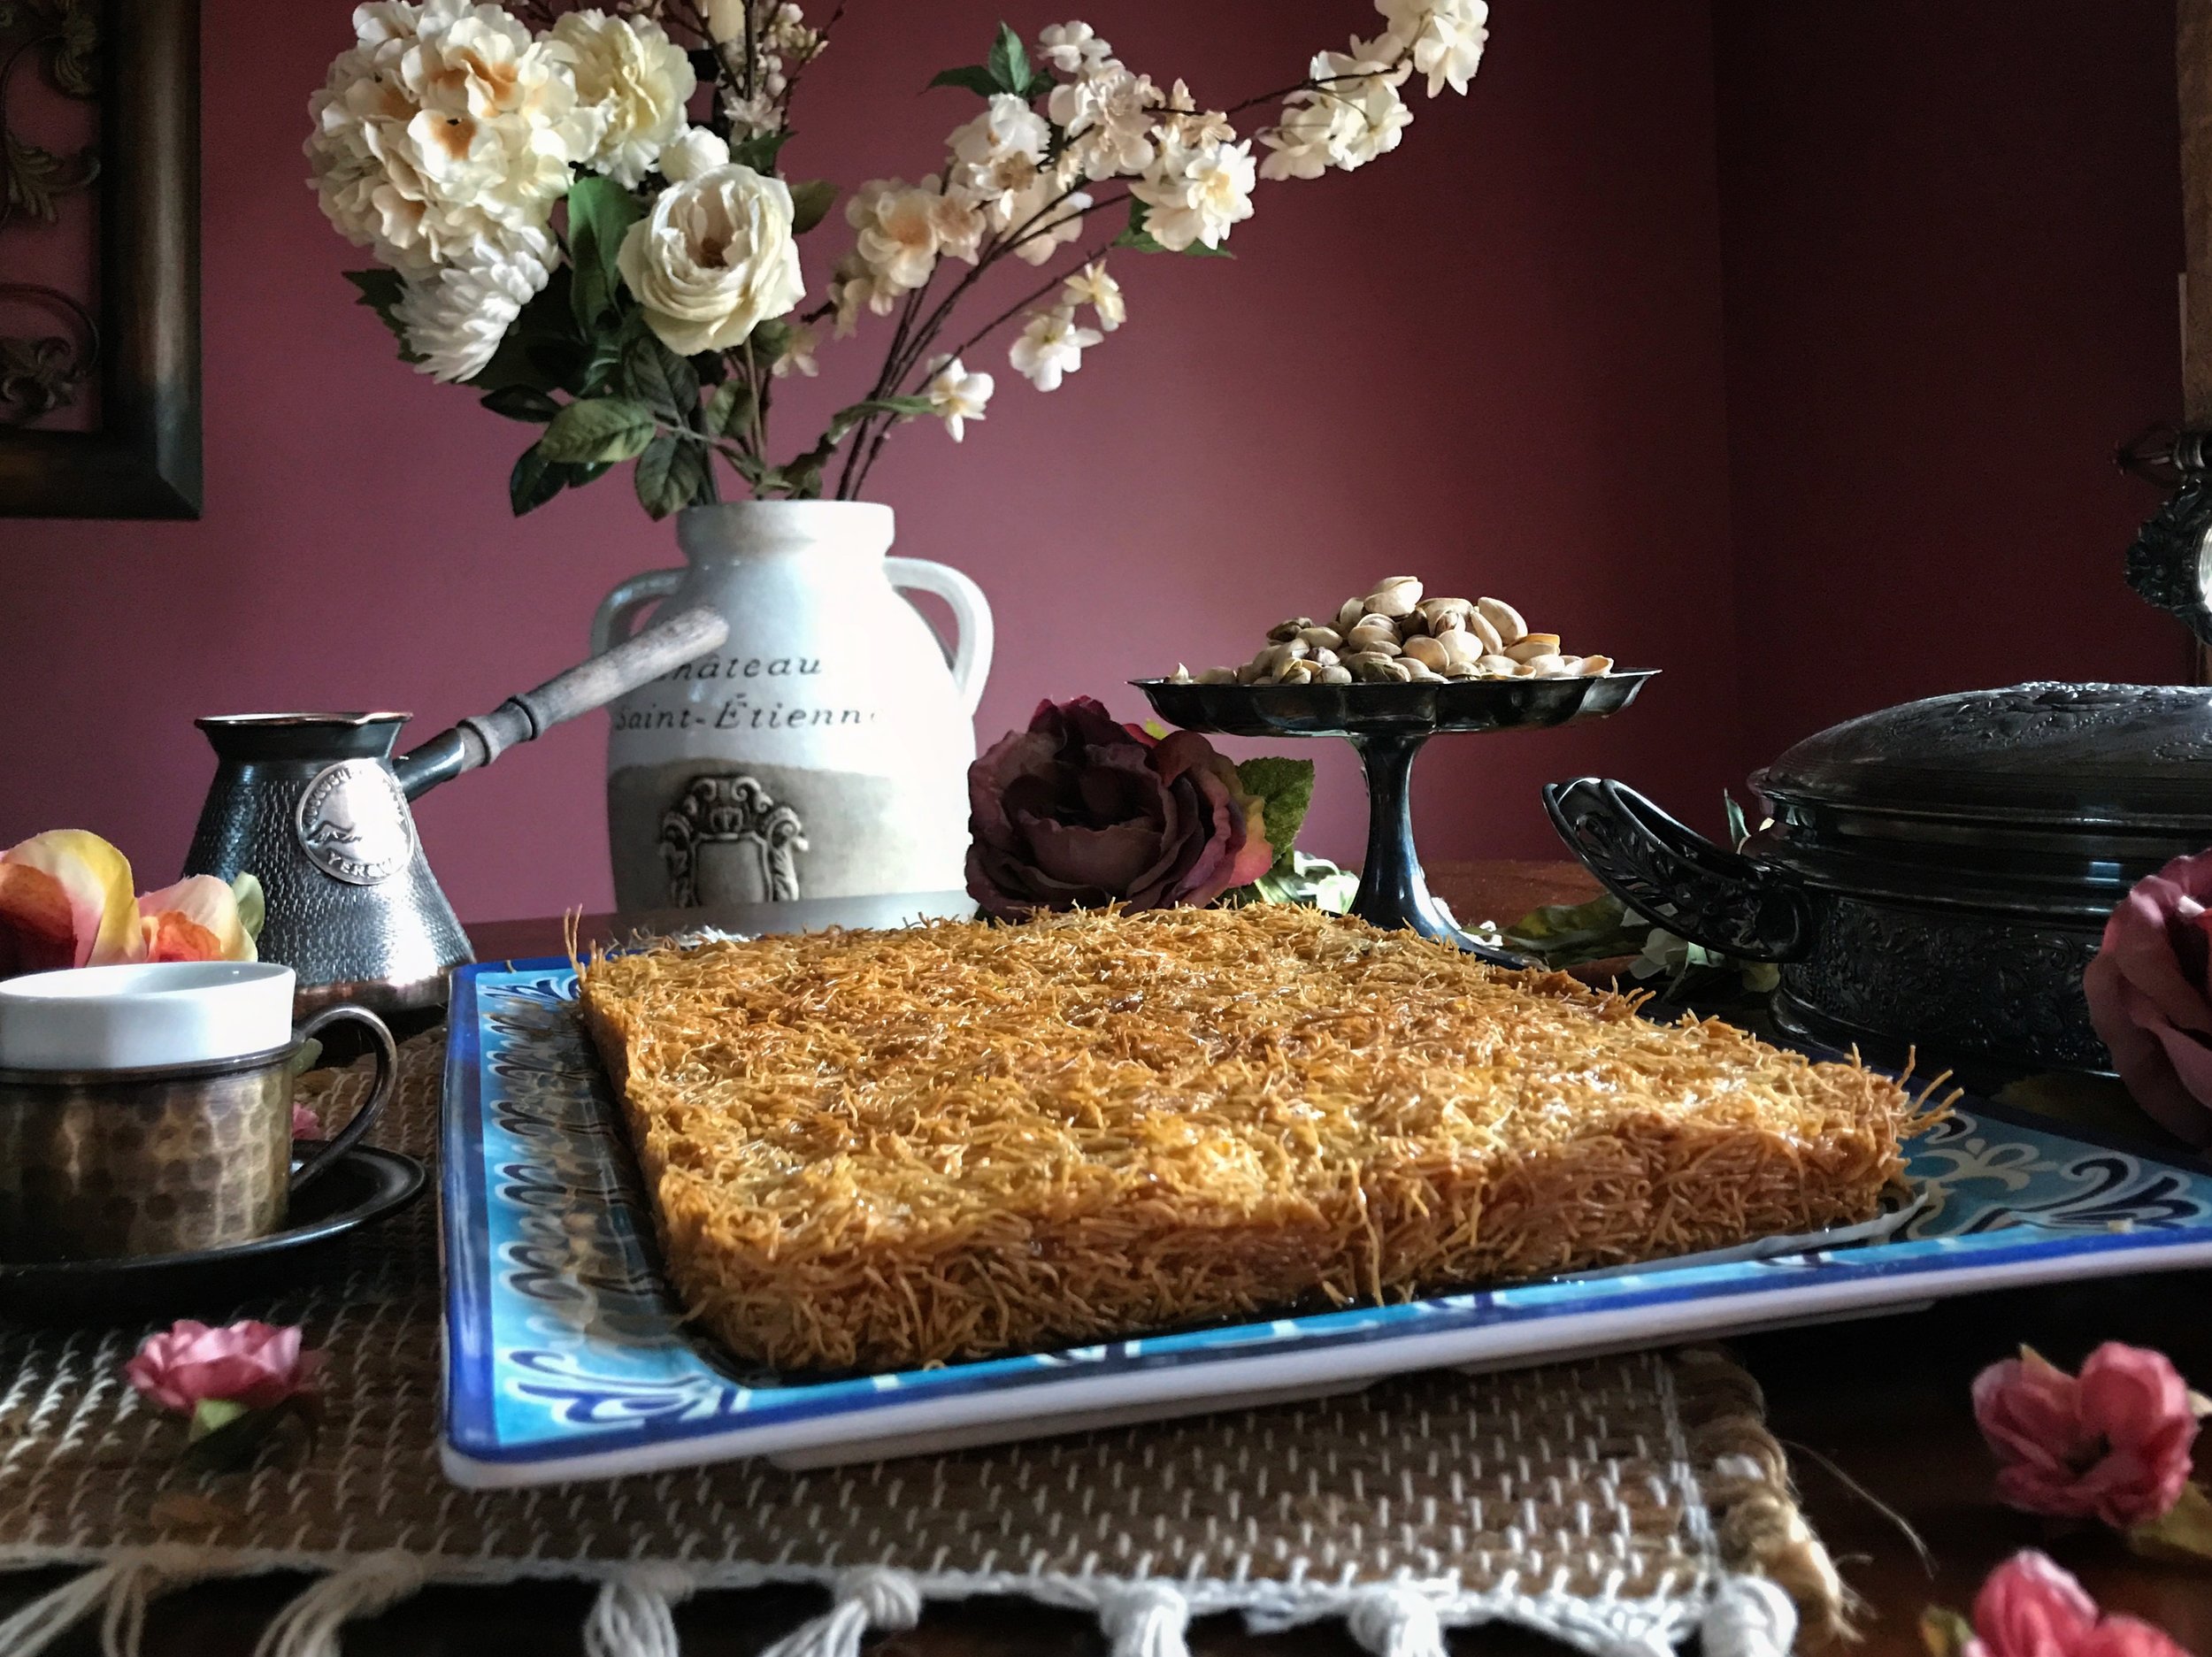
"Kataifi - Turkish Street Food"

I've been looking to try something new for a long while, months and months back in passing I saw one of the many videos that percolate through Facebook and YouTube involving street food..

It was barely a second or two but something about one of the dishes caught my eye—an that was KataÏfi or Knafeh or really as I was to discover dozens of other names and styles..

So after procrastinating for far to long I finally set out to try to bring together a version all my own..

I then went about scouring the internet; searching YouTube videos, and food blogs, predominately from the local chefs and cooks kind enough to add English translations in the Eastern Mediterranean, Turkey, Greece, Israel and the Levant when I could..

After learning as much as I could in a short while about the many different versions and styles this street food is created in throughout the region, I then finally decided upon the style I would attempt..

Taking my cues from several versions I saw, I then tweaked and touched up my version and went about trying to make it my own..

From chopping the shredded philo, to the decision to mix and match several eastern style white cheeses from the region, and finally to the small changes to my syrup..

It was surprisingly much easier to work with then I expected, especially as it was my first time working with philo dough of any kind—but I always love trying new things from around the world, it's part of the fun of cooking..

Everyone in my family loved it, as well as my Greek boss at work who took several pieces home to his family to enjoy—an I have to say I really enjoyed it myself too, was just the right mix of ingredients and the syrup was just to yummy for words on top of all that dough and cheese..

This Turkish inspired street food is much easier to make then you might expect so I encourage you to try it out at home for yourself—I know you'll find that it is oh so "Definitely Delish"

"Kataifi - Knafeh - Kunafa - Kadaïfi"

Ingredients:
Dough:
Knafeh Dough (Shredded Philo)
1 cup Unsalted Butter

Orange Blossom Syrup:
1 1/2 cups Water
2 1/2 cups Raw Sugar
1 tsp Lemon Juice
1 tsp Rose Water
1-2 tsps Orange Blossom Water
1 teaspoon Orange liqueur
1 teaspoon of finely grated Orange Zest
1 1/2 tsps fine Himalayan Pink Salt

Filling:
1/2 cup of Semolina flour
Mix of White Cheeses (unsalted if possible) 4 cups, shredded & loosely packed into a large measuring cup (I used a mix of Armenian string cheese, Greek Kasseri cheese, Akkawi and frsh Mozzarella cheeses)

Extras:
Chopped & crushed Pistachios, roasted & salted

Directions:
1. To prepare the sugar syrup:
2. Put the sugar and water in a small saucepan and place over medium heat..
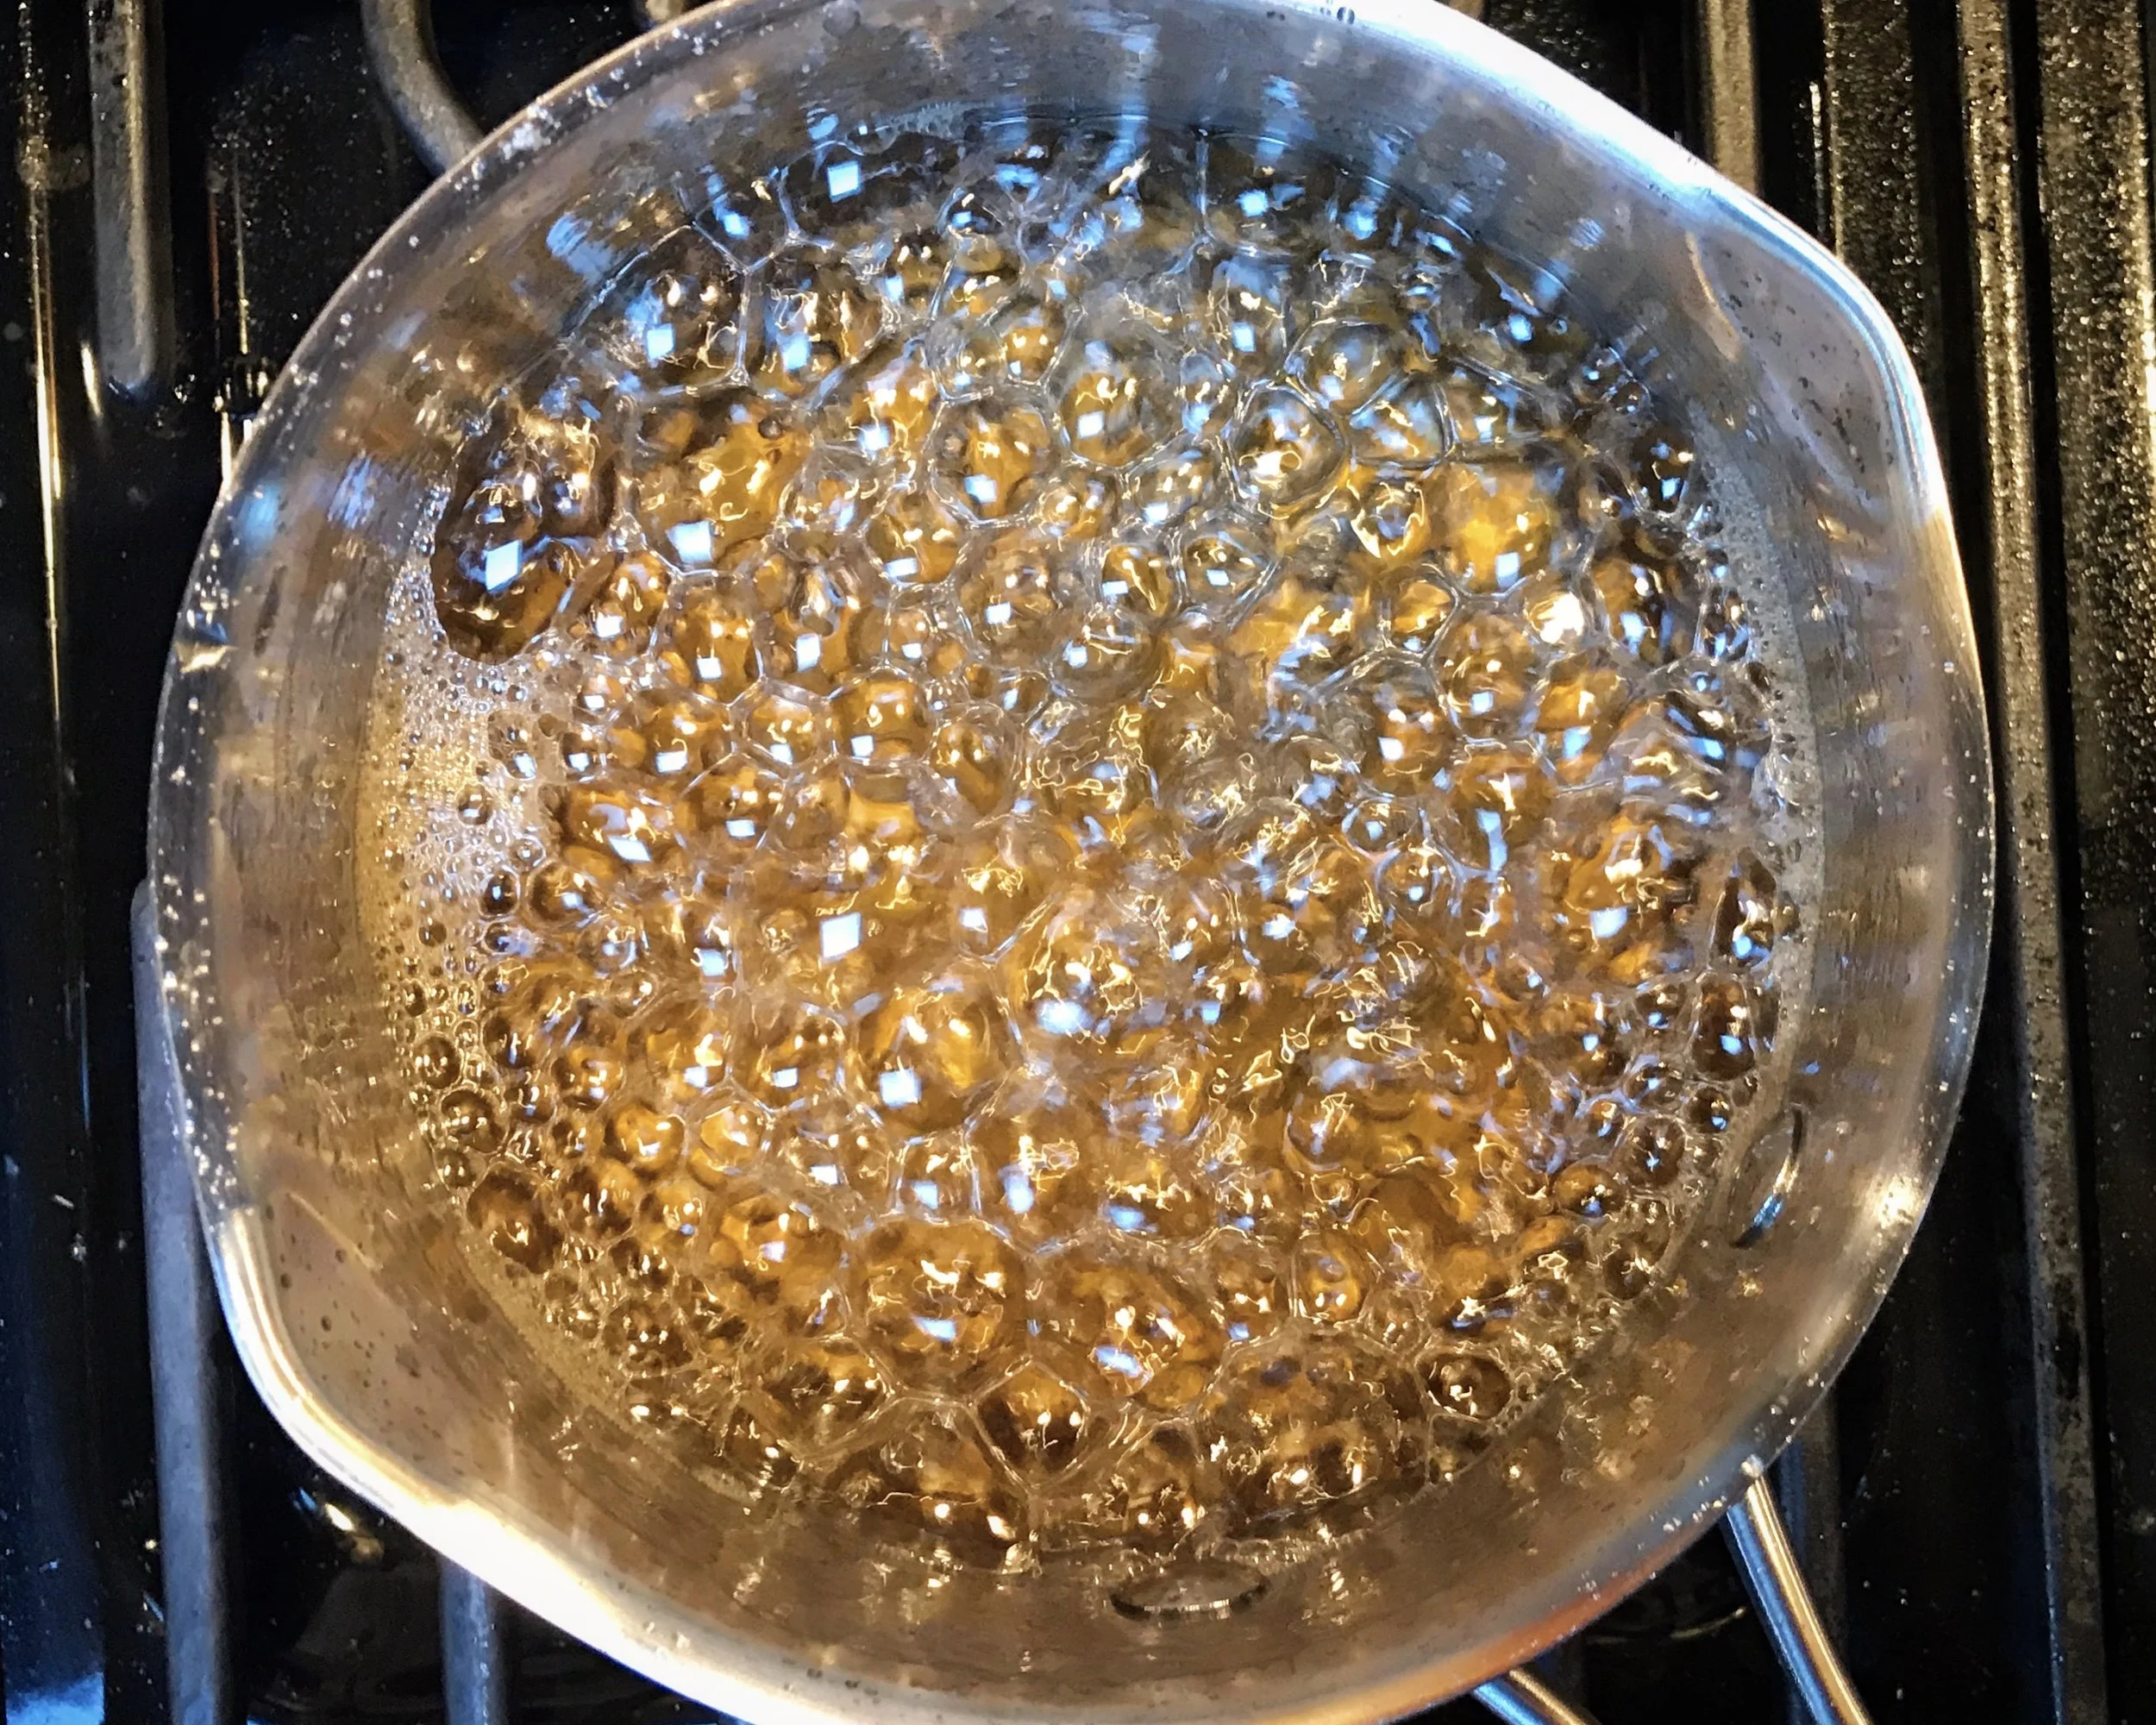
3. Stir until the sugar dissolves. Leave to boil then add the lemon juice and keep on medium heat for 10 min until the syrup thickens..
4. Add the orange zest, orange liqueur, orange blossom water and rose water. Remove from heat and transfer to a large bowl..

For the Dough:
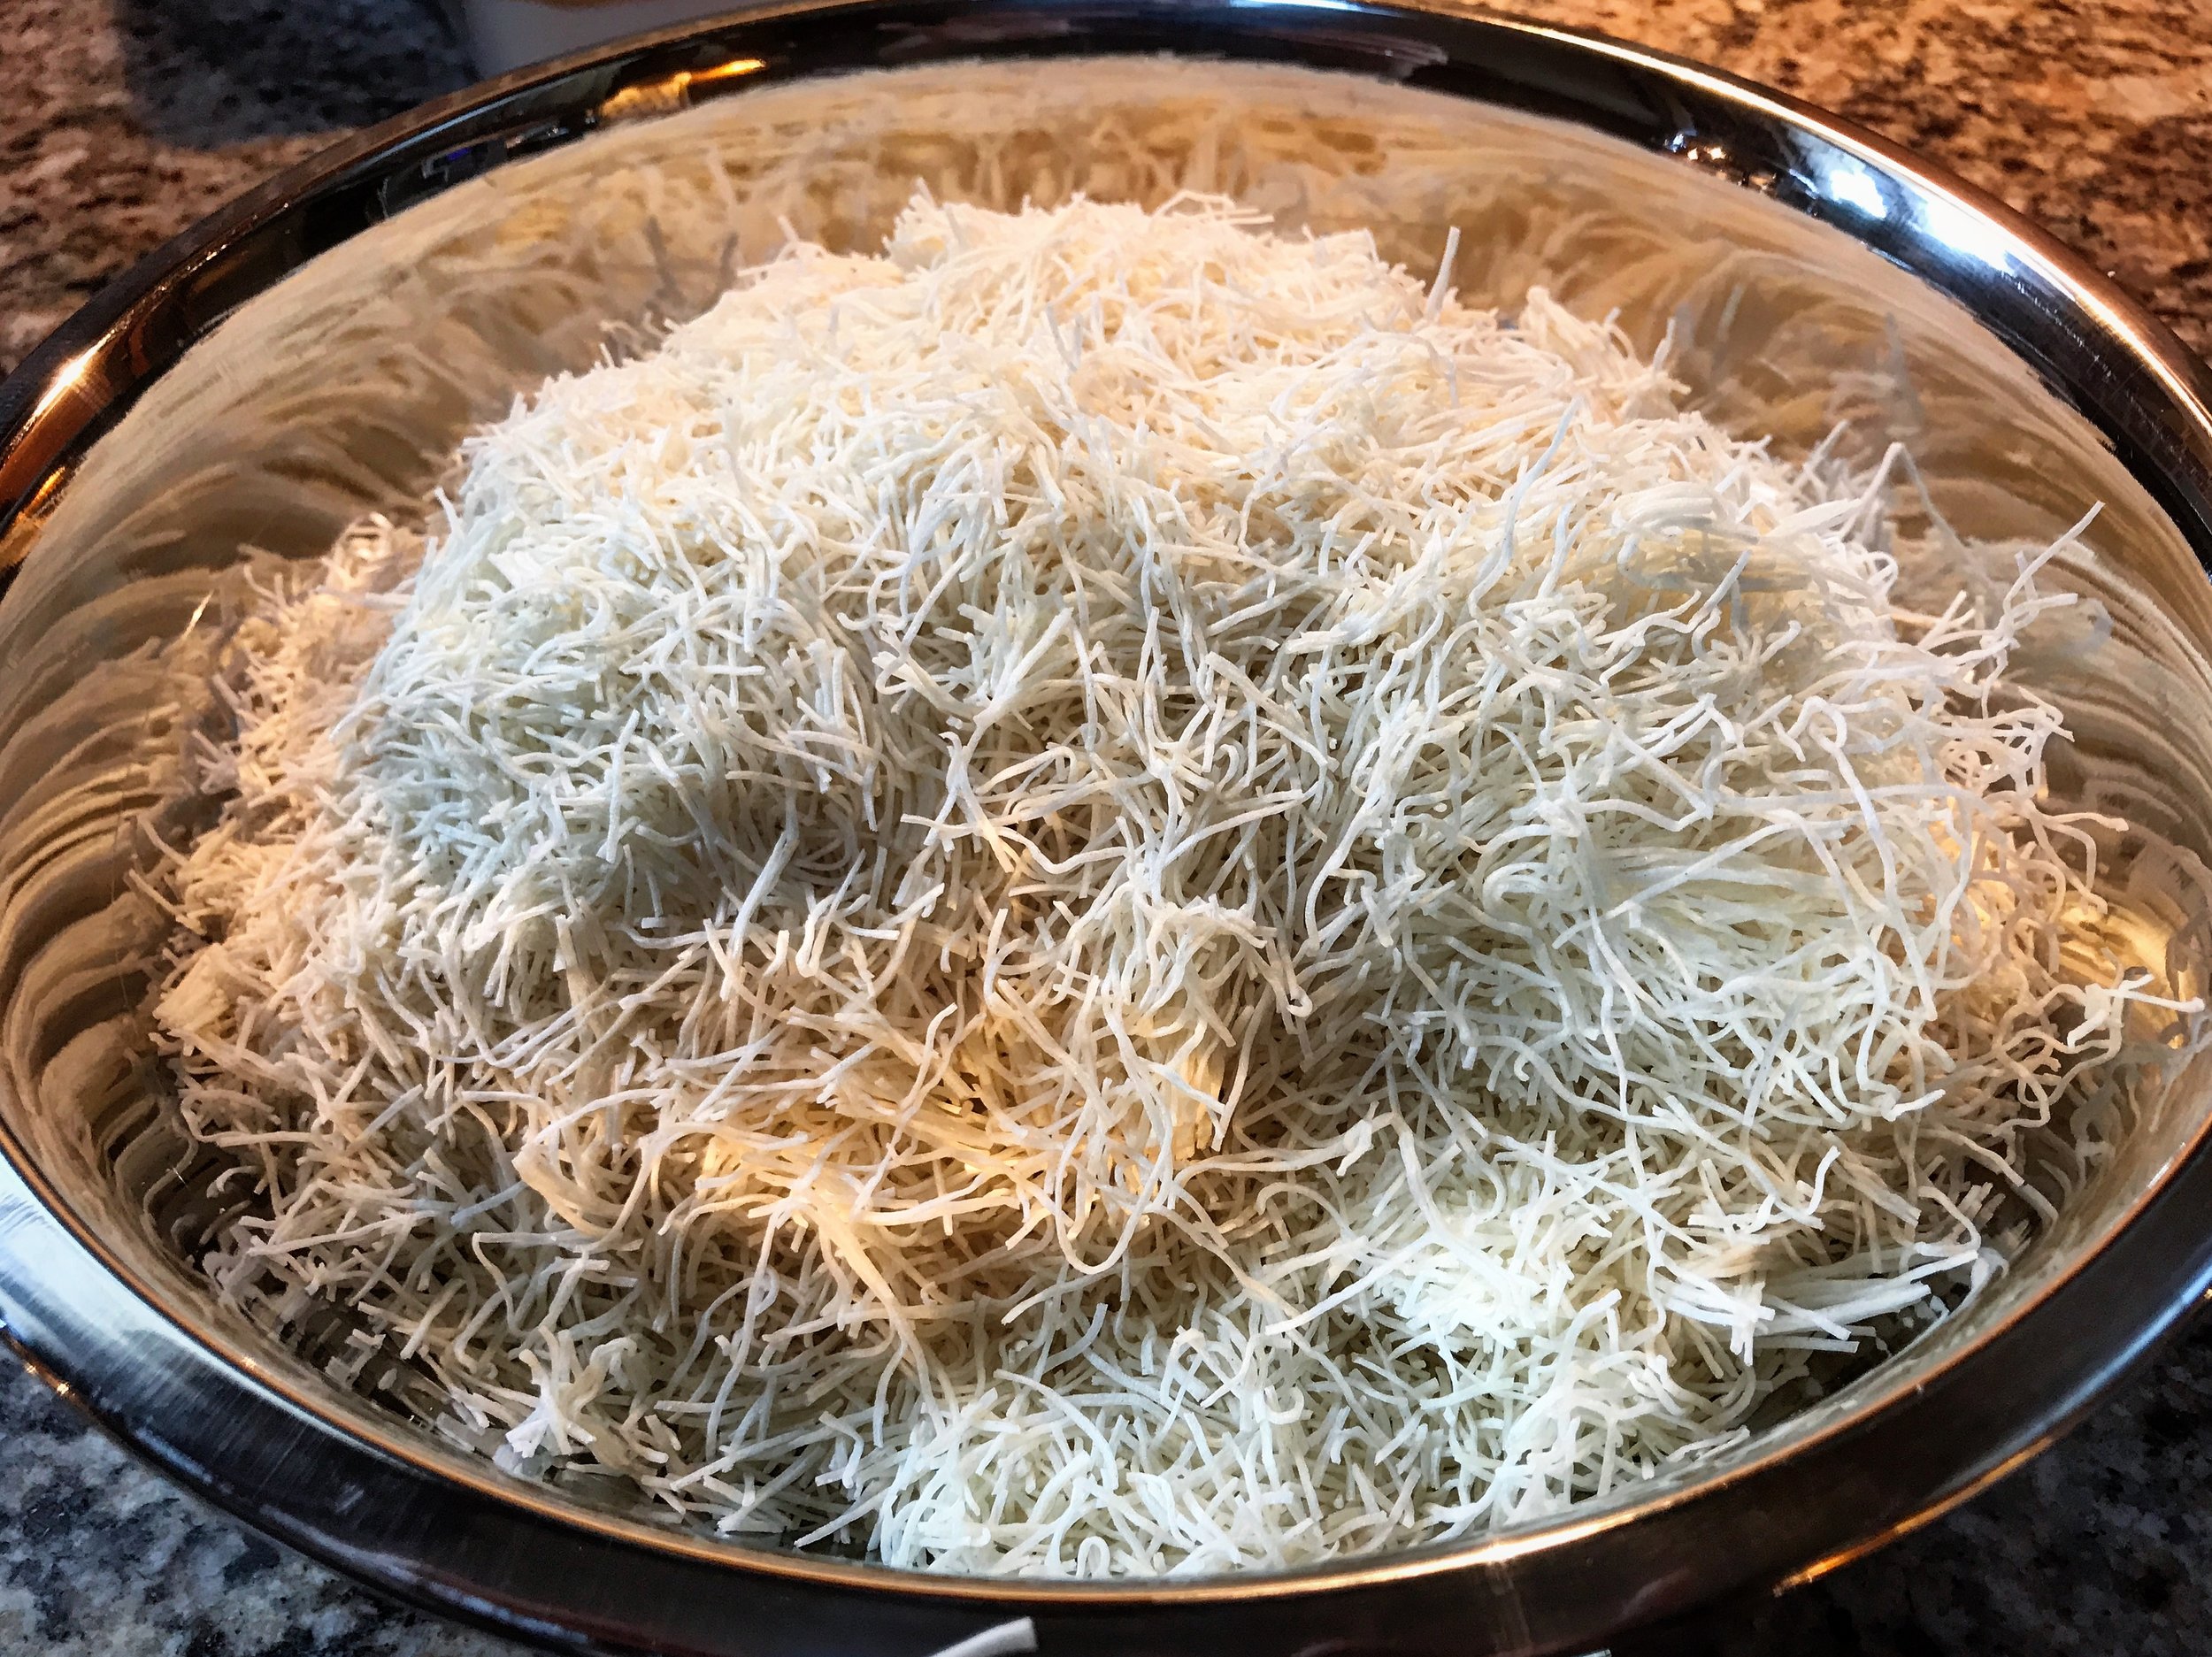
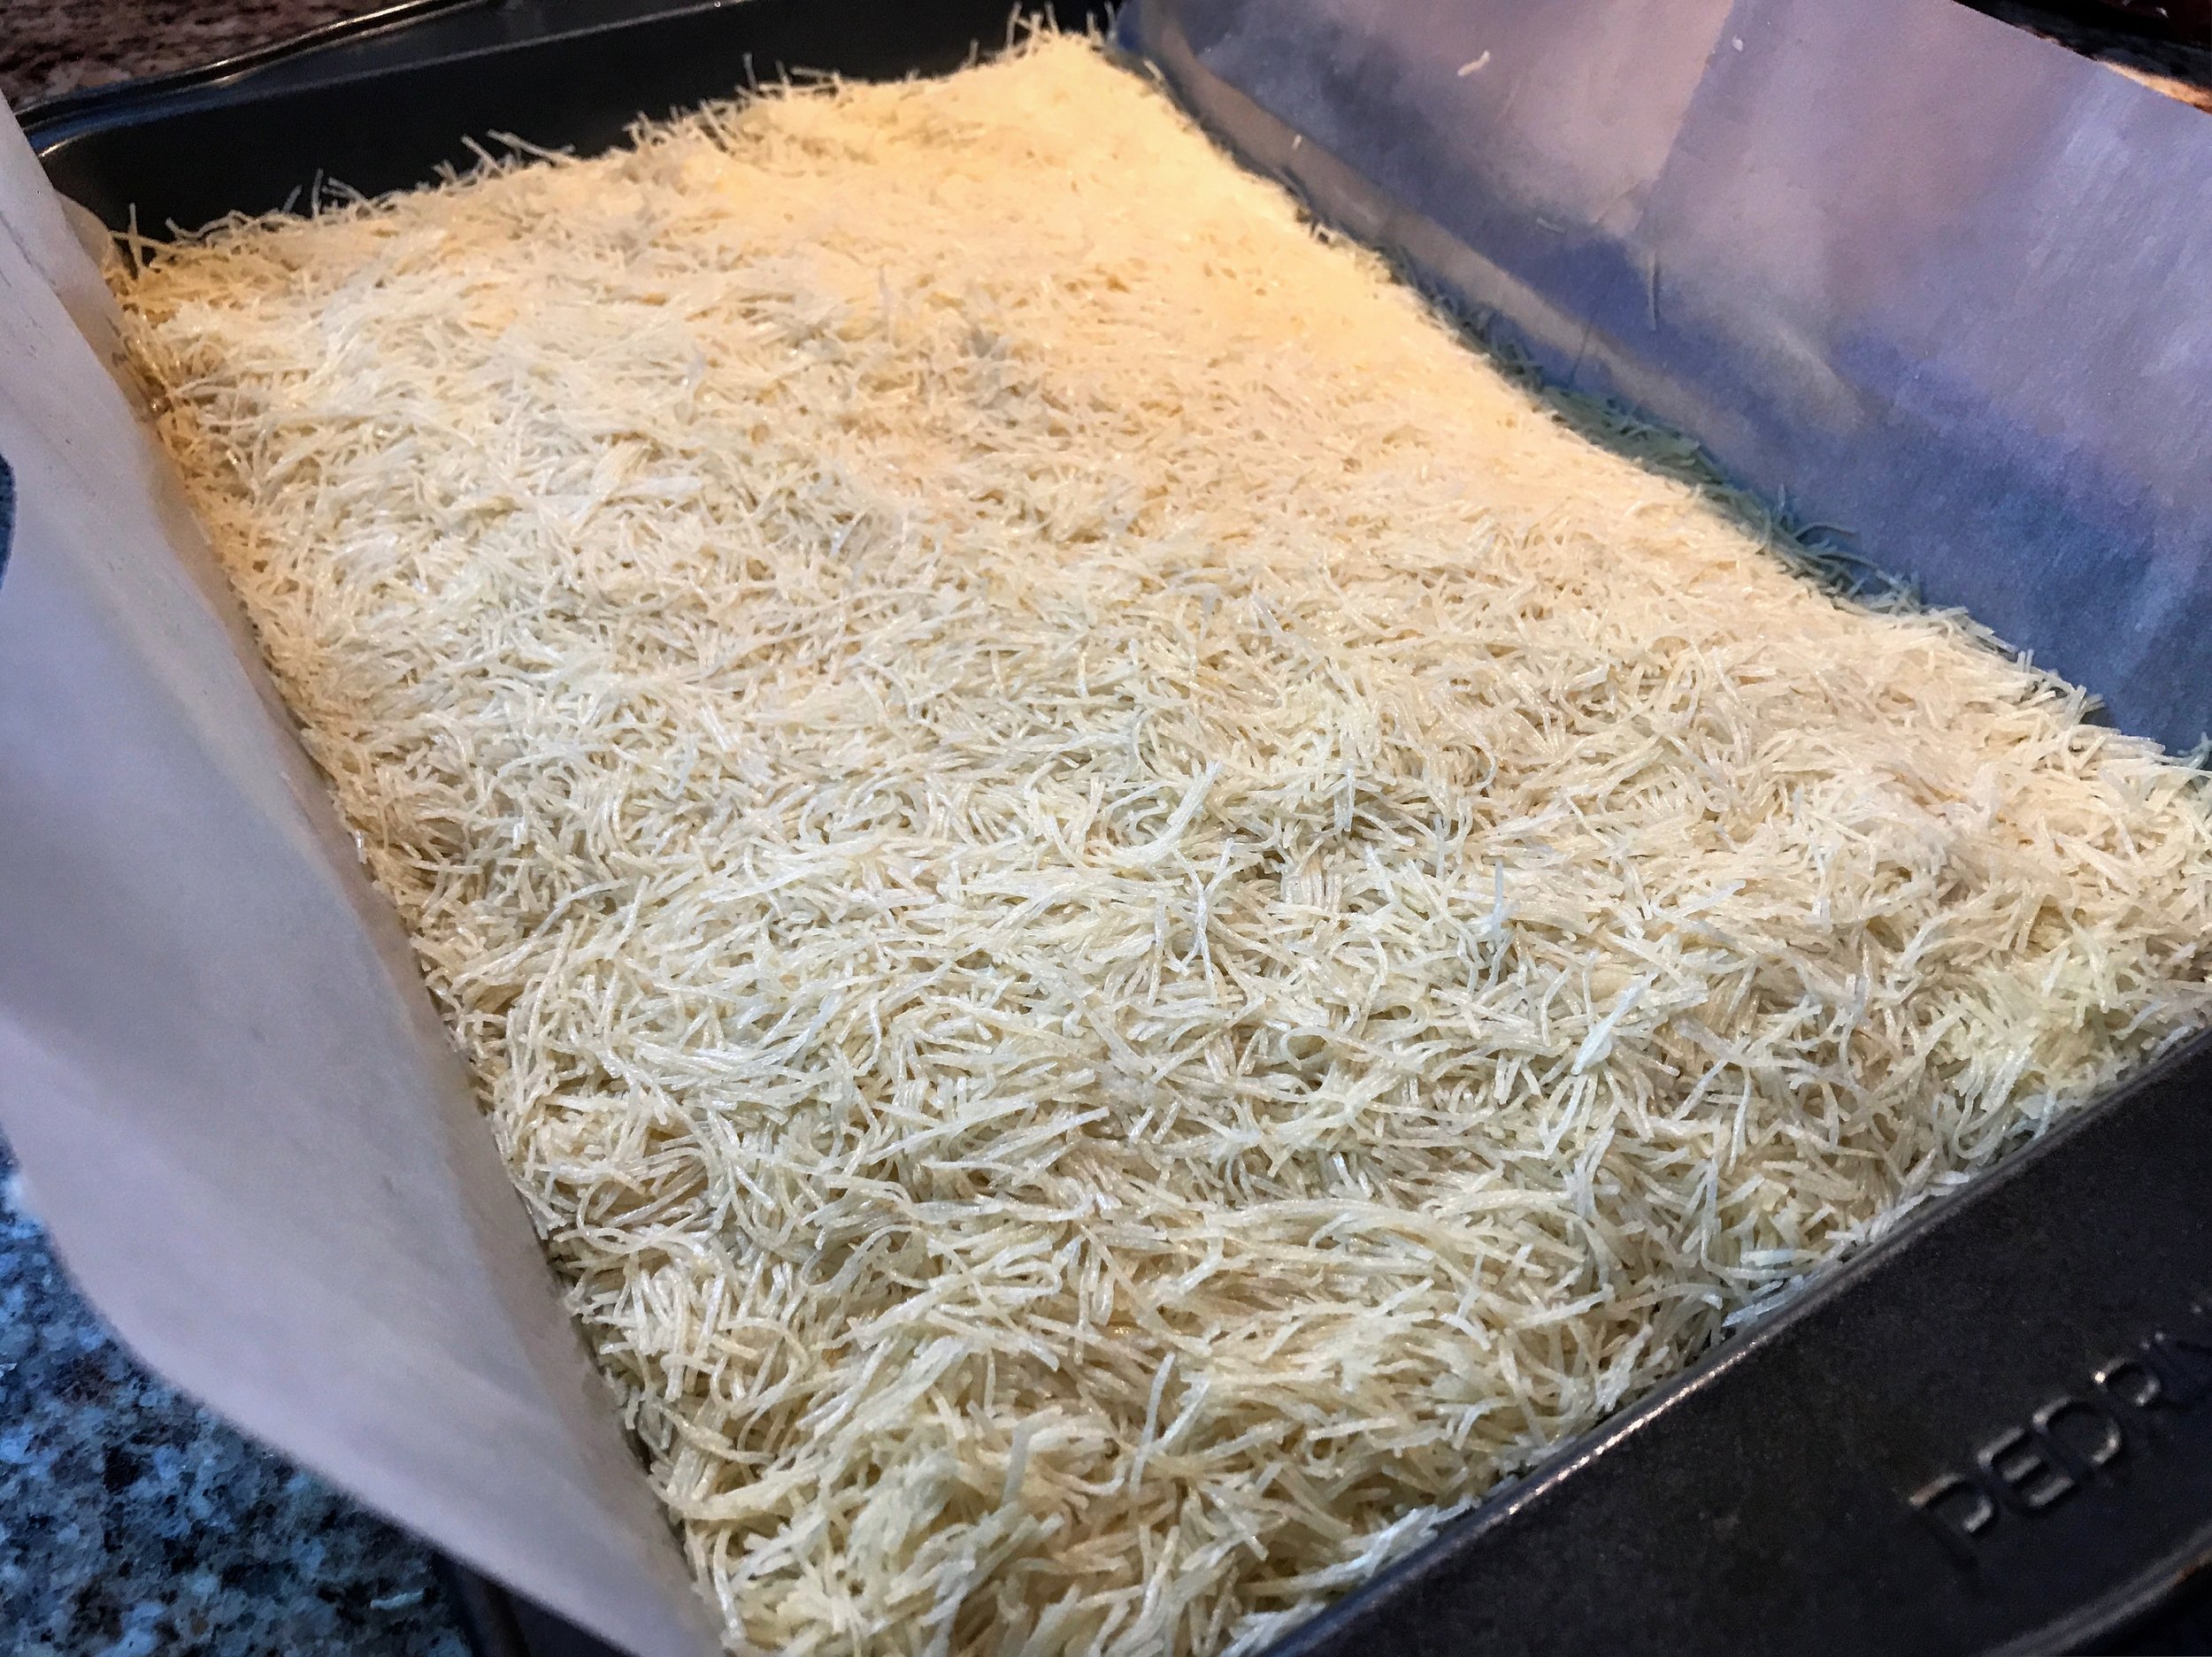
1. Put the knafeh pastry in a large bowl. Pull out and separate the strands as much as possible with your fingers so they do not stick together..
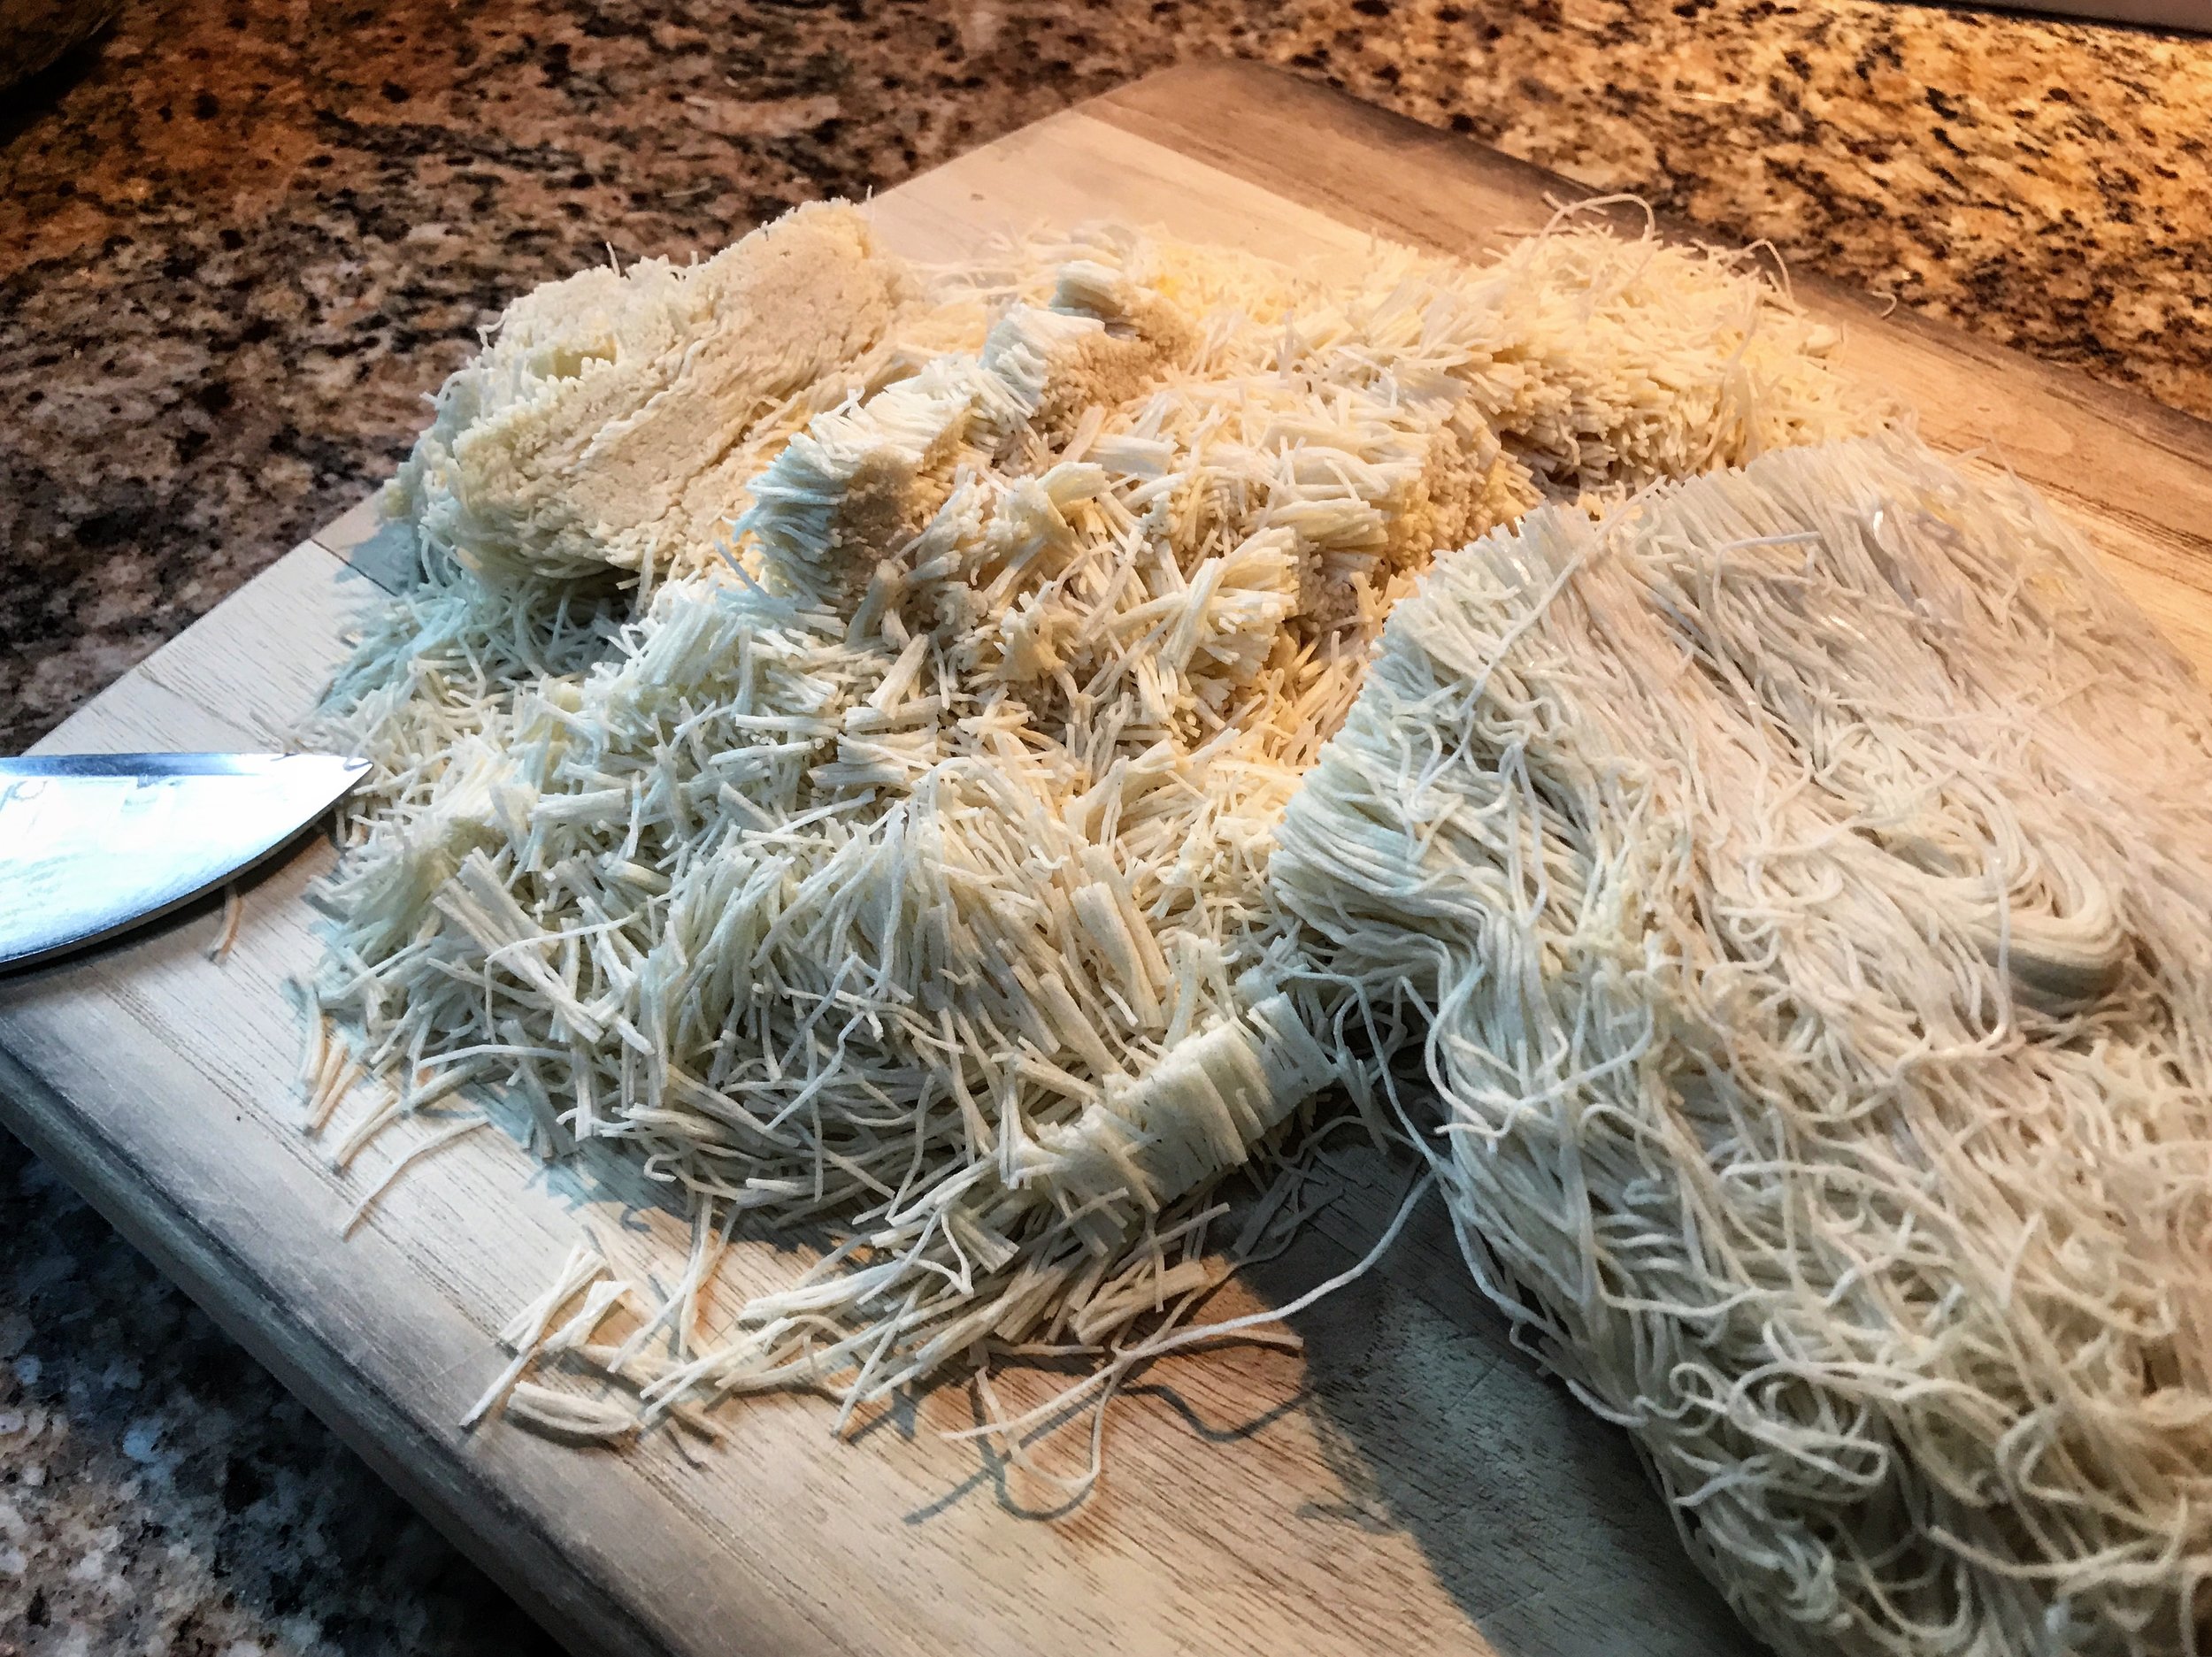
2. Chop the kataifi/Knafeh into shorter segments to fit inside the food processor. (I chopped with my knife on a cutting board, though you can do whichever is easier for yourself) Process half or more of the dough is shredded into small, crumbly strands instead of clumped together..
3. Divide the dough in half, keep some of the longer shreds for the top in one bowl.
4. Melt your butter and then pour the melted butter over each half of dough and work it in very thoroughly with your fingers, pulling out and separating the strands and turning them over so they do not stick together and are entirely coated with butter..
5. Lightly grease the sides of a parchment lined 9 x 13 inch baking dish or 12 in round baking pan..
6. Take the finer chopped half of dough and cover the bottom of the baking dish, and press with your hands to pack it down. Press some of it up the sides of the pan as well..
7. Pre-heat your oven to 350 degrees Fahrenheit and place your rack just above the middle of the oven..

For the Filling:
1. Add the mix of shredded cheeses together in a saucepan on medium heat..
2. Stir until some of the water oozes out. Discard the water..
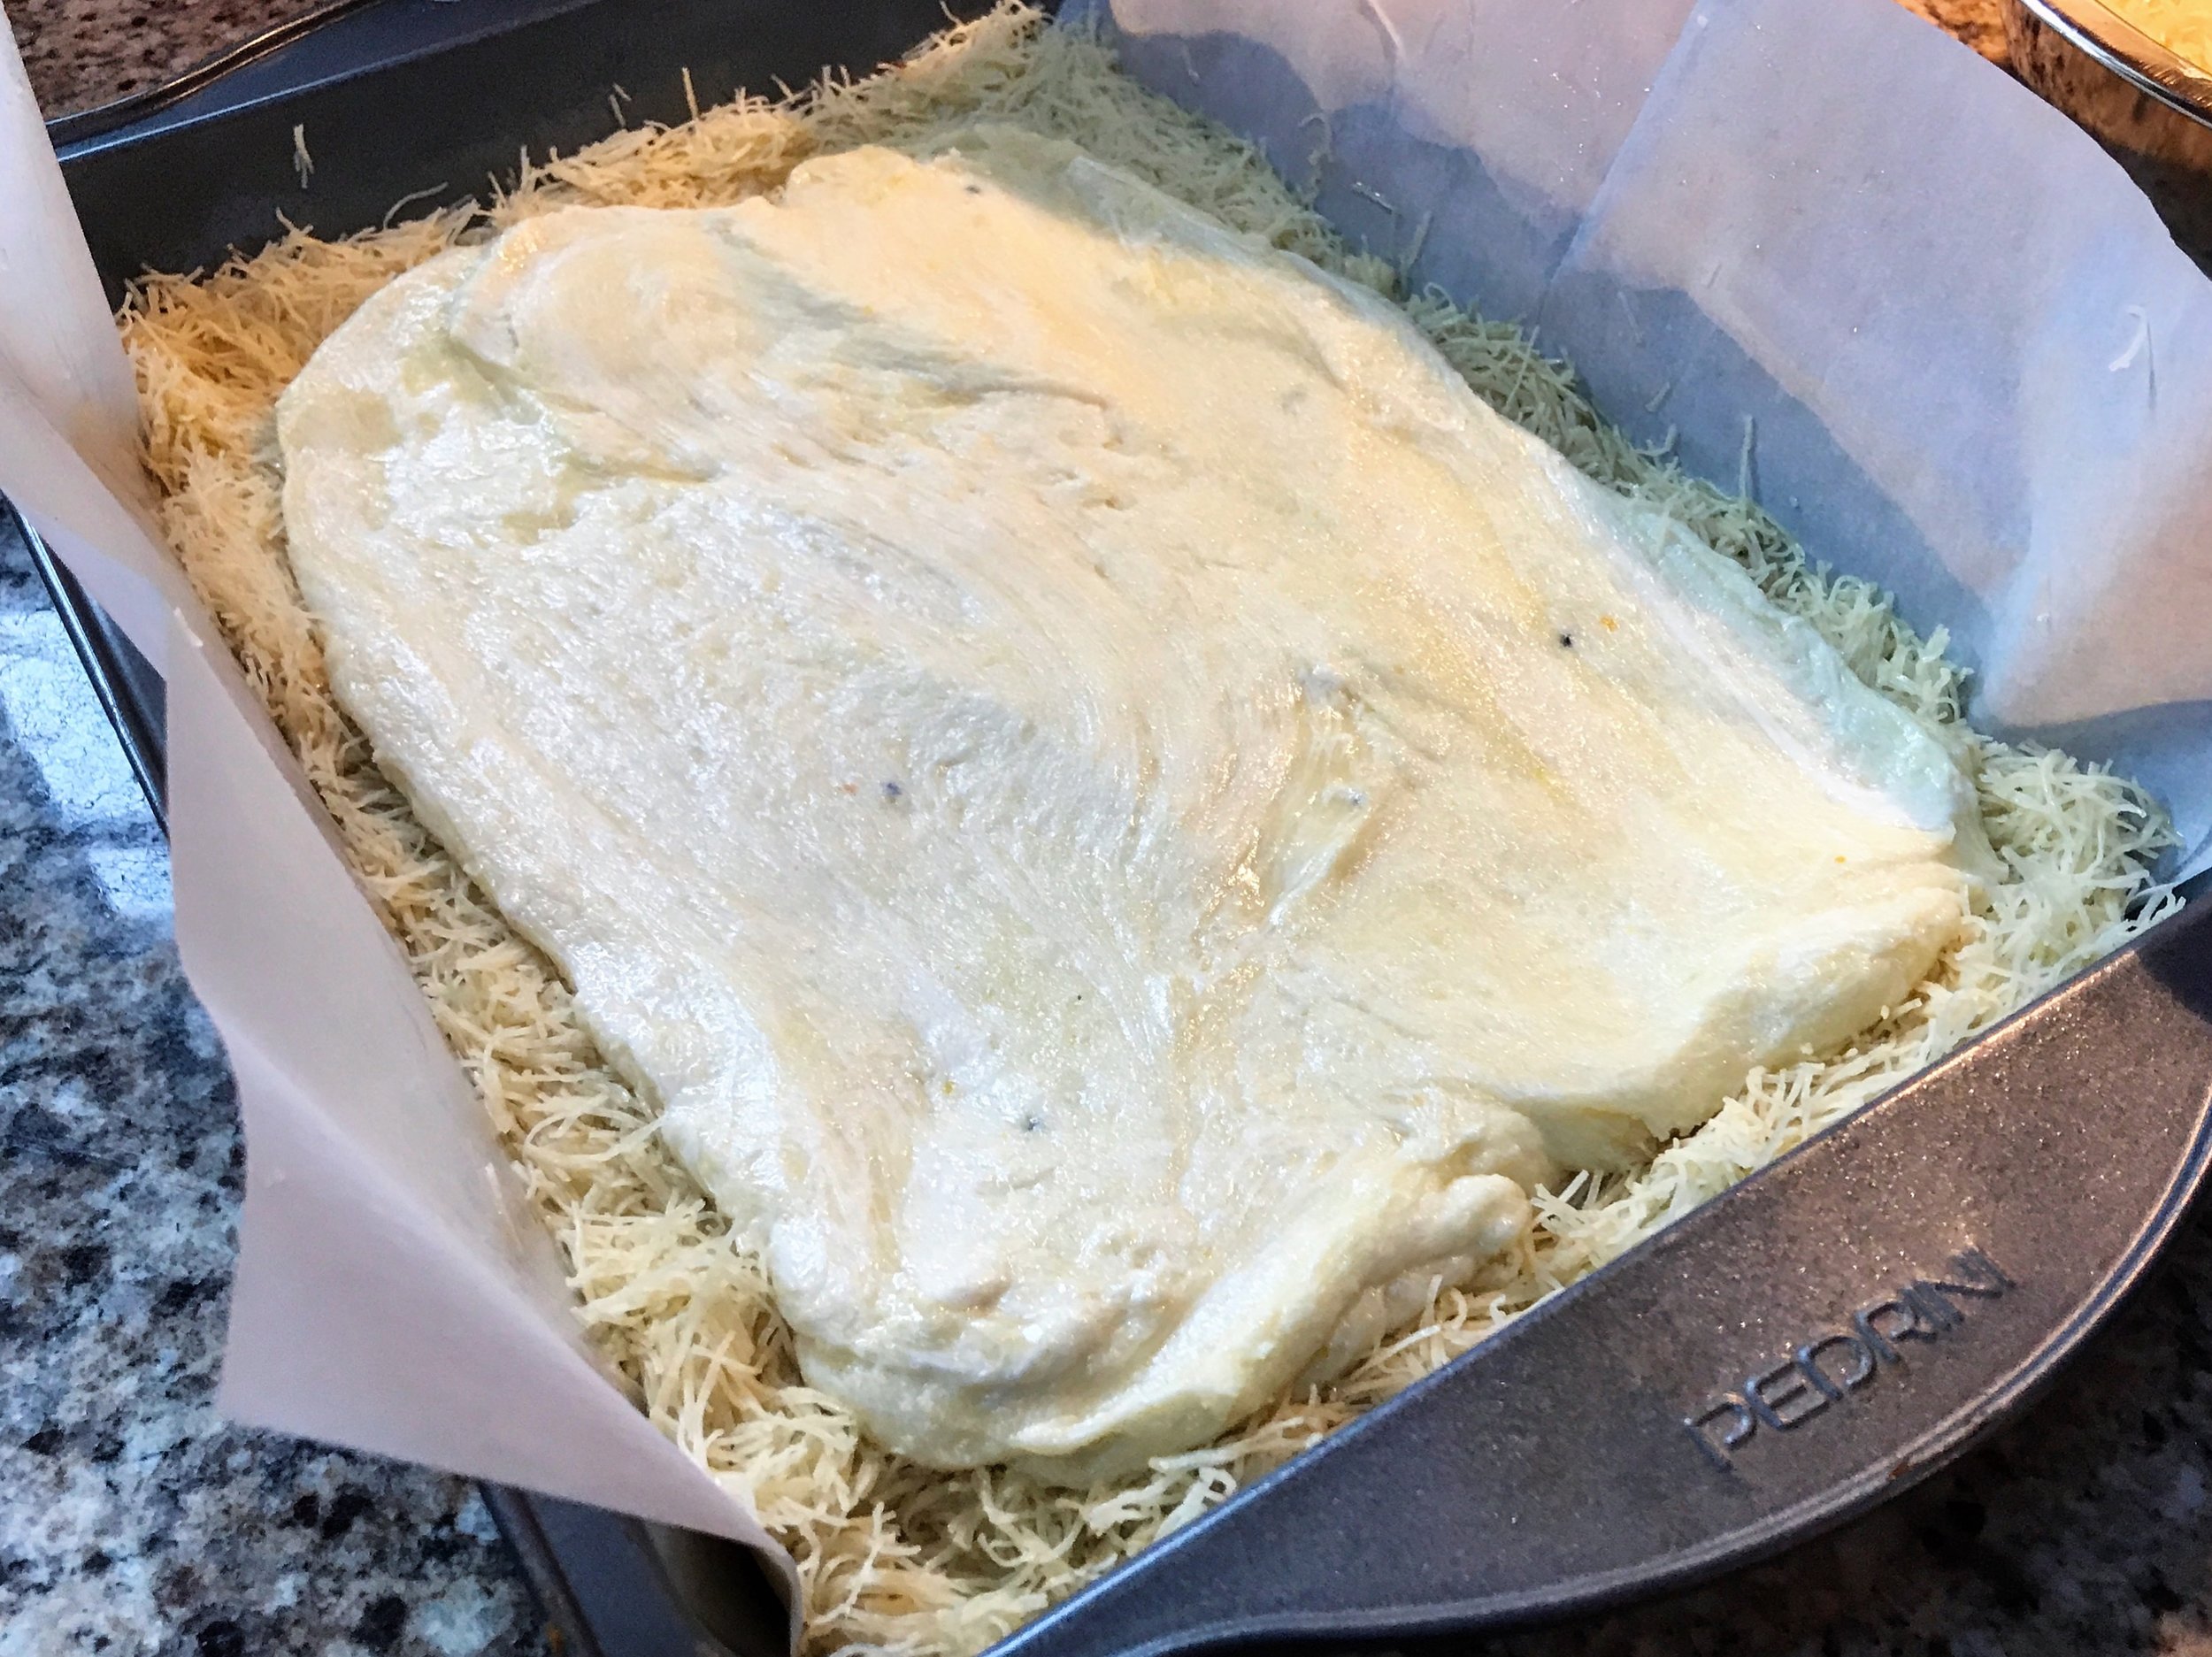
3. Add in the fine semolina and 1/2 cup of the syrup and mix. When the cheese mixture melts together, remove from heat and pour over the knafeh/Kataifi dough..
4. Spread evenly and allow to cool for 5 minutes or more..

To Finish:
1. Sprinkle the other half of dough evenly over the cheese layer. Press it down softly to even the layer out..
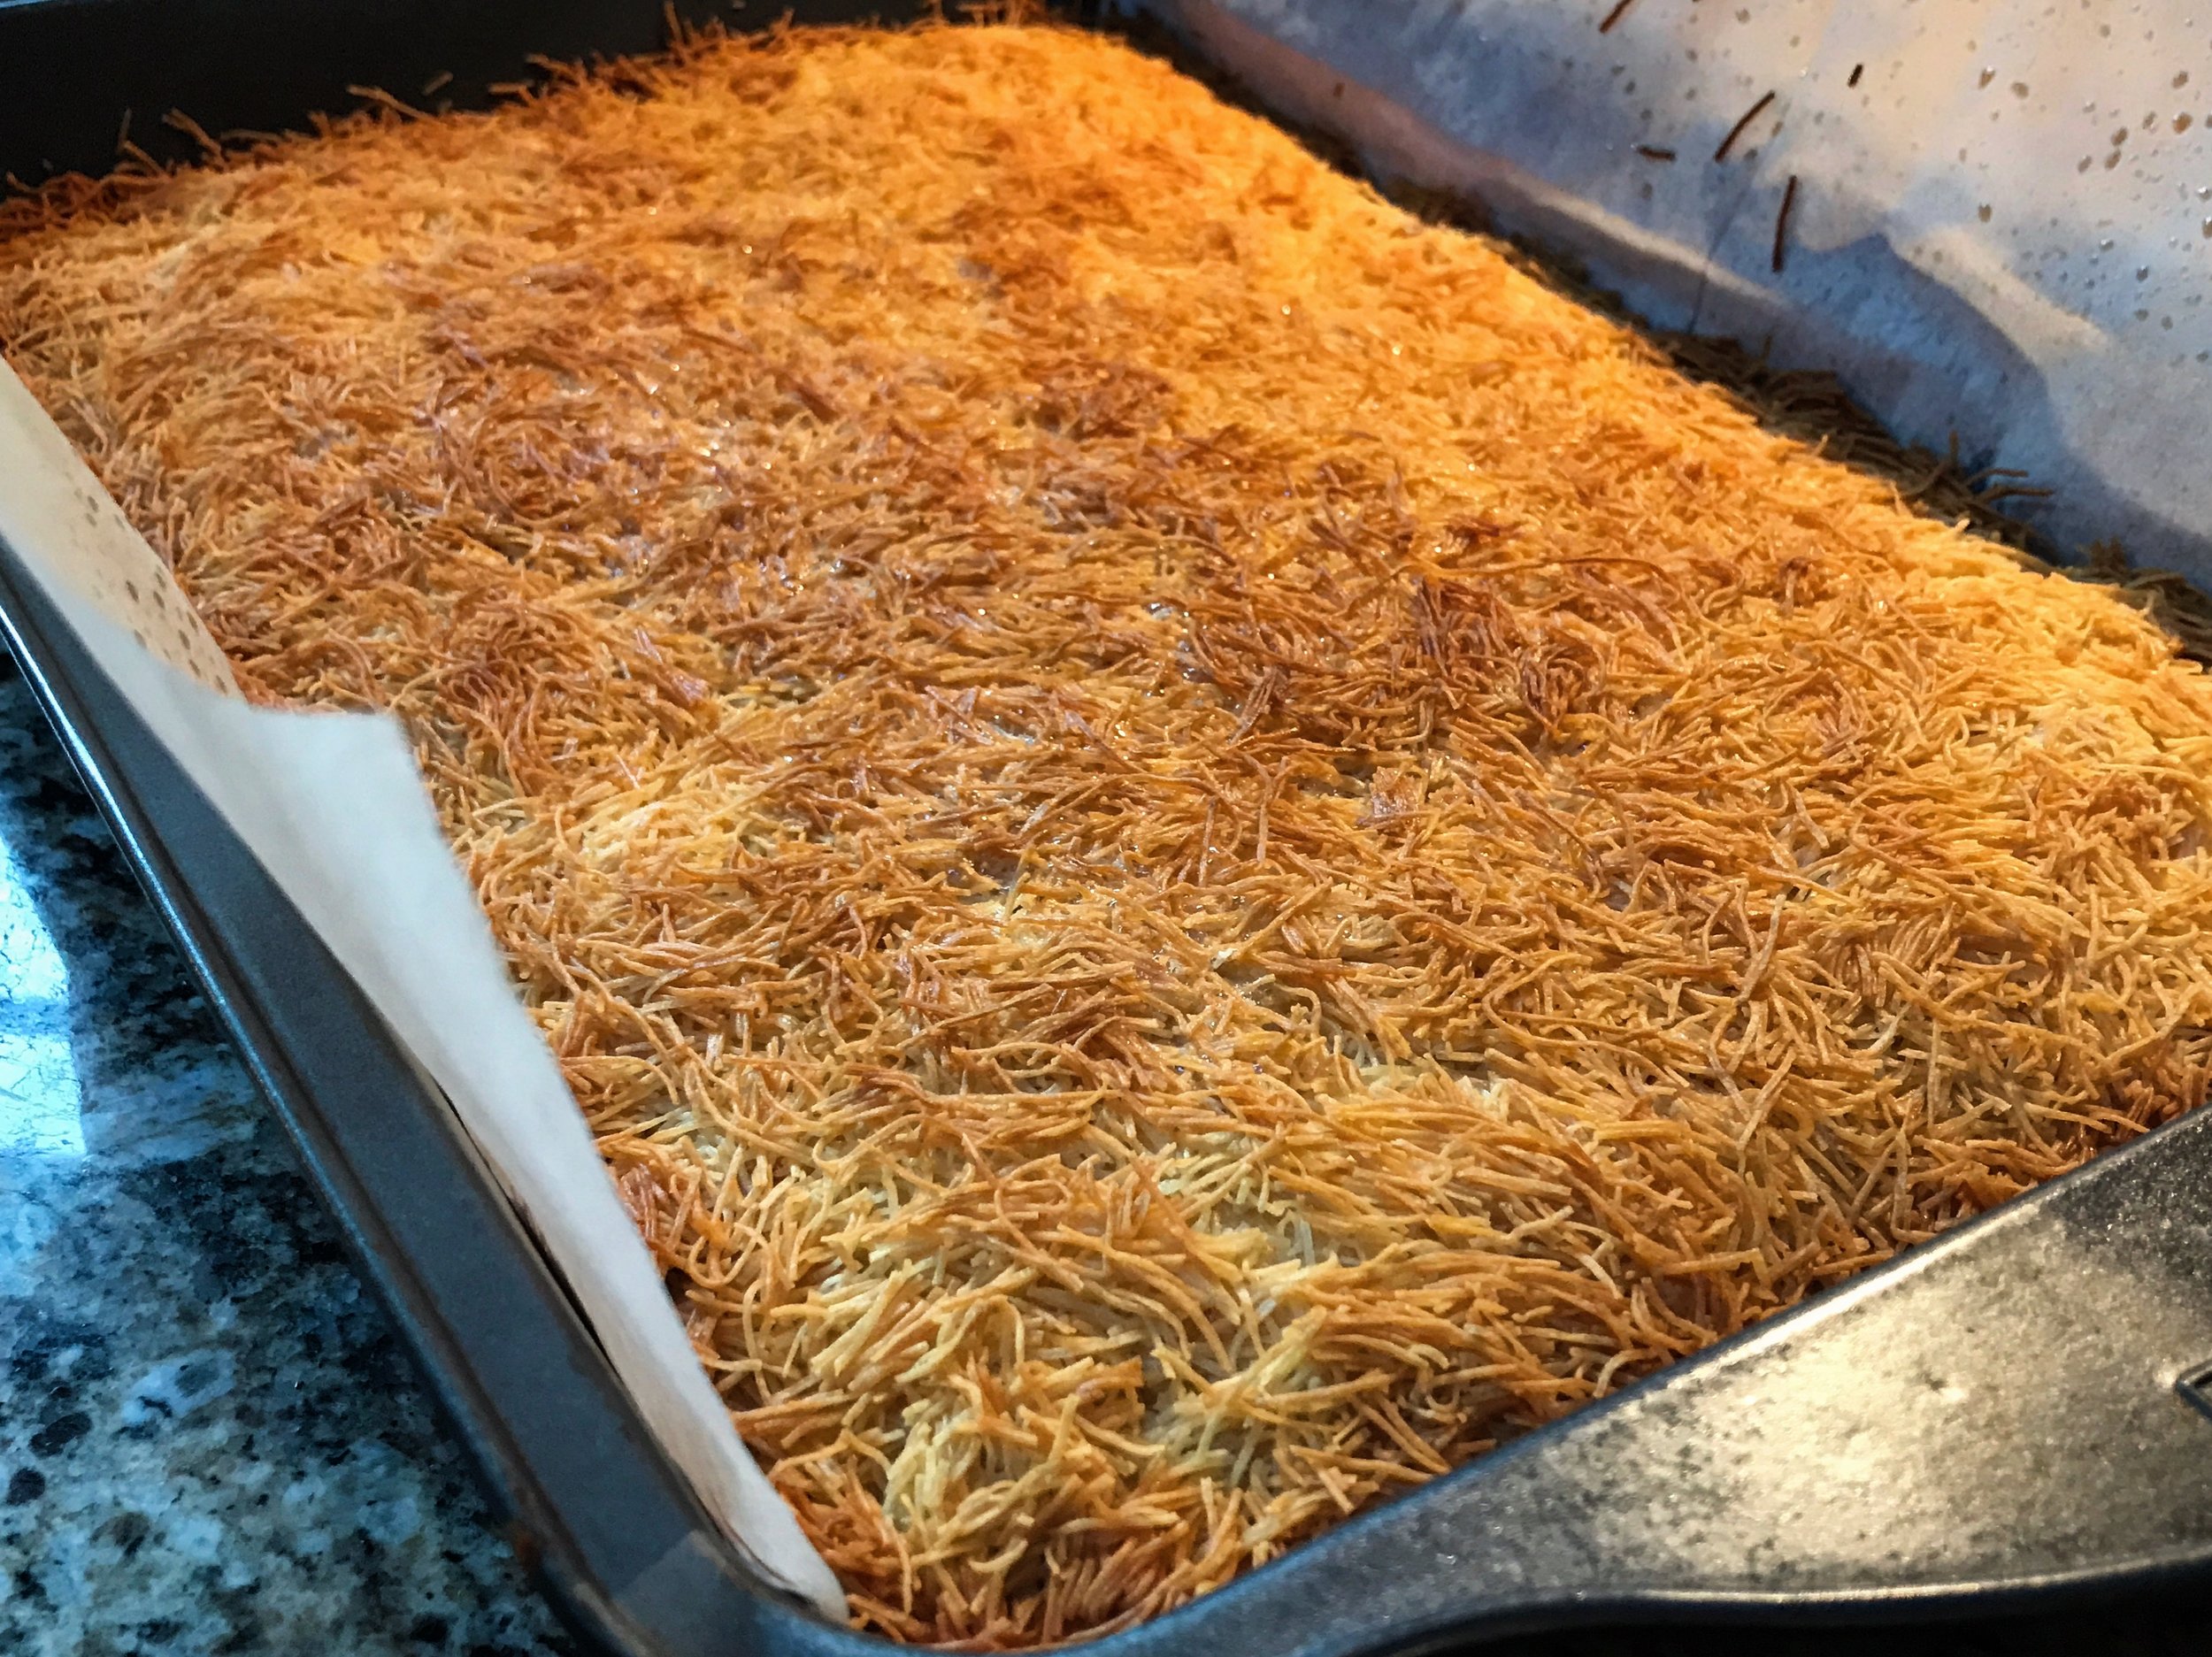
2. Leave out for 5 more minutes before putting it into the oven. Bake for 35 to 45 minutes, until the top of the dough is visibly lightly browned..
3. Remove Knafeh from the oven, and let cool for at least 5 minutes (see notes about flipping)
4. Pour 1/4 to 1/3 of the remaining orange blossom syrup evenly over the dessert (depending on how sweet you would like it.)
5. Top the Knafeh with chopped, crushed pistachios..
6. Serve immediately, if possible, while still hot and with extra syrup on the side.
7. Slice, drizzle with extra syrup, and enjoy!

Notes:
1. Flipping it is optional, but can make the finished dessert more visually appealing. (Though doing like I did and using parchment paper to line your dish and transferring to a plate looks as good or better to me-personal preference)
2. First, loosen the kunafa from the edges of the dish with a knife..
3. Cover the top of the baking dish with a large, flat baking sheet or other large, rectangular serving dish..
4. Flip the baking dish while it is covered by the sheet, so it will end up on the baking sheet..

5. If you're going to flip I would suggest some of the longer strands for the bottom (reverse which half of dough from the earlier steps to use for the bottom)
6. If you're not going to flip then you can line your pan with greased parchment paper—and after baking and allowing to cool for 5 minutes, lift out or lift slide out side onto plate using parchment paper..


"Spiced French Toast Bake"

"Spiced French Toast Bake"

I find that creating breakfast recipes can be some of the toughest to do...

I mean there's only so many ways to scramble an egg or make an omelette, waffle or French toast...

An though I've still attempted it by tweaking an "Eggs Benedict" using "English" crumpets and "Kobe-Wagyu" sirloin burgers or by layering a "Frittata" with potatoes, pancetta, mushrooms, asparagus and cheese—I still find it tough to find a technique or addition to make a breakfast recipe truly my own...

"Farm Fresh, Organic & Homemade"

"Farm Fresh, Organic & Homemade"

This is one of those...

Taking a personal love of all things bread related; I took buttered toast for breakfast, along with my French Toast recipe and decided to combine the two together with a twist...

Taking cues from a "New Orleans" style Bread Pudding (which has been much on my mind as me and my Baby plan our return trip); I played around with the ingredients and after a night at rest, me and my Baby were blessed to have this beautiful symphony of sweet and spicy ingredients slowly baking in the oven...

"Sweet, Spicy & Buttery"

Once done, and dusted with powdered sugar, it was ready to be served up with some pure organic maple syrup...

Such a serendipitously satisfying selection to soothe both your hunger and your sweet tooth at the same time...

So try out my "Spiced French Toast Bake" yourself; I think you'll find that it is,
oh so "Definitely Delish

"Sweet & Spicy Sliced French Toast" 

"Spiced French Toast Bake"

Ingredients:
1 loaf of fresh made Whole Wheat Bread, cut into 14 slices
3 tablespoons unsalted Irish Butter, softened
6 tablespoons granulated organic Sugar
Zest of 1/2 lemon
2 teaspoons Vanilla extract
6 farm fresh Eggs
2 cups Whole Milk
1 cup Light Cream
1 tablespoon Amber Rum
1/2 teaspoon ground Cinnamon
1/8 teaspoon of ground Cloves, Allspice & Nutmeg
1/4 teaspoon Pink Himalayan Salt or Sea Salt
Powdered sugar, for dusting
Organic Maple syrup to finish (optional)

Directions:
1. Pre-heat oven to 350 degrees Fahrenheit. Slice your bread into 14 slices and then diagonally into triangles. Arrange them on a large baking tray and bake for 5 to 10 minutes, until firm to the touch but not yet browned. You can flip halfway through baking...
2. Lightly butter a 9×13-inch or other 3-quart casserole dish with 1 tablespoon of softened butter. Melt the remaining butter in a dish and using a silicone basting brush, brush each slice of bread after they're done in the oven...
3. Fan your bread slices out into the pan. Now place sugar and lemon zest in the bottom of a small dish and use your fingertips to rub the zest into the sugar, so it breaks up a bit and also releases the most flavor. Sprinkle half of lemon sugar over bread inside your casserole dish...
4. Whisk eggs in a large bowl; then slowly whisk in the cream and milk, followed by the ground spices...
5. Stir in vanilla, rum and salt. Pour custard slowly and evenly over bread and sugar, then sprinkle with the remaining lemon sugar... 
6. Let mixture soak covered overnight in the fridge. If pressed for time you can let it sit for 30 minutes on the counter instead before baking, but overnight is better...

"French Toast Bread Pudding"

7. When ready, heat oven to 365 degrees. Loosely cover the "French Toast Bake" with foil and bake for 15 minutes on the middle (or just below middle) rack of the oven. Remove foil and bake for approximately 30 minutes more, until a knife inserted into the center of the casserole and turned slightly causes no liquid custard to spill into the crack. (This can vary by the density of your bread; it can sometimes take longer to finish. Check regularly till done every couple of minutes)
8. Let cool slightly before serving. Dust with powdered sugar and serve with maple syrup on the side, if desired...

"Spiced French Toast"

"Sweet, Spicy & Delicious"

"Buttered Toast, French Toast And Bread Pudding Together At Last"

"Perfect on a Sunday Morning"

"Oia, Santorini - Somber Shades by R.Fisher"

"Strawberry Shakeology Gelato To Fixate On"

It's not every day that you come to the conclusion that you need to make a change; whether it's lifestyle or your job, when this epiphany occurs its sometimes best for you to take that chance and dive right in head first...

"Strawberry Shakeology Gelato"


In my life this happened within the last few years; you see after surgery to remove a failing organ, as well as a terrible relationship which was dragging me down both physically and emotionally, I decided I had had enough and needed to get my life back on track and start taking care of myself for a change...

"Spring Flowers"


For too long I had let things slide and as a result I had put on more weight then some could realize, as my height tended to hide it well-but in actuality between my poor diet and stress, I was falling apart...

Now with sometime having passed, and with me having made the changes necessary in my life to get back on a healthier road and a healthier lifestyle, I see my Baby doing something similar with an old friend from school...

"Strawberry Shakeology Gelato"


You see; after Nikki excitedly went back and forth talking with her friend, we decided we'd join up, with Emily, as Beachbody Coaches too. Between the exercise routines, challenges and wonderful Shakeology shakes-you get a full range of products that taste good and with the people you meet, the encouragement to keep on the straight and narrow... 

"Spring has Sprung"

So considering my not to modest cooking skills, and my love of experimentation, I decided to put them to the test and play around with different recipes and products to come up with some delicious 21 day fix meals as well as some tasty treats using, of all things, protein powder-of which this is the first...

So sit back and try the first in what I hope will be a series of dishes and treats, I think you'll find that they are oh so "Definitely Delish"


"99% Fat Free Shakeology Gelato"


"Strawberry Shakeology Gelato"

Ingredients:
1 1/2 cups fresh Strawberries
1 1/2 teaspoons Vanilla extract
2 teaspoons Sweetener (stevia, splenda, truvia, coconut palm sugar)
1/2 teaspoon Strawberry extract, if needed
2 scoops Strawberry Shakeology protein powder
1/2 cup unsweetened Almond Milk
3-6 drops of red food coloring
2 containers Fat Free Cool Whip (You could also make whipped cream using coconut milk)

"Protein Powder Gelato"

Directions:
1. Defrost Cool Whip on counter for 1 to 2 hours. Take out strawberries, remove greens and then slice into smaller pieces. Place strawberries in freezer for 1 hour hour minimum...
2. Meanwhile take a bowl and add in the "Shakeology" protein powder, vanilla, sweetener, almond milk and blend using a hand mixer. Add the red food coloring, mix and then set aside...
3. Take frozen strawberry pieces from freezer and chop them up using a food processor, blender or nutri-bullet/ninja. You do not want them to completely puree, there should be some variation in texture with bigger and smaller pieces mixed in with the pulped berry...
4. Add the processed strawberries to the liquid protein powder mix and stir together. Now pour the combined mixture into a large bowl with the defrosted cool whip. Stir together slowly until completely combined...
5. Pour the mixture into a nice sized Tupperware container with a lid and then freeze for a minimum of four hours before serving, overnight is best, and then enjoy... 


"Irish Coffee Fudge And St. Patrick's Day - A Match Made In Heaven"

"Irish Coffee Fudge"

St. Patrick's Day is Thursday and that means corned beef and cabbage will soon be boiling up, in pots, in homes and homesteads from one side of the Atlantic to the other...

So besides this classic staple of culinary corned beef perfection, green beers and soda bread what other Irish inspired indulgences might you partake of...

For me, a connoisseur of all things coffee, I turn to that wonderful staple the "Irish Coffee"

"Whiskey and Fudge"-what a combination...

This hot drink has long been a favorite in Irish pubs with a popularity that could be said to rival a great stout (as tough as that may be).

"Decadent Whiskey Fudge"

Joe Sheridan, it's creator, had the right idea when he first combined a robust Irish whiskey with rich, black coffee and created the original Irish Coffee Cocktail...

Despite some common shortcuts that have been taken in the past, a great Irish Coffee is not as simple as adding a shot of whiskey to a cup of coffee. No, this is a well-planned, carefully constructed coffee drink that should be mixed with the care of any modern latte or cappuccino...

For this sweet and indulgent recipe I took the incredible essence of my favorite Coffee Cocktail and worked it into a wonderfully decadent, mildly intoxicating, batch of deliciously sweet fudge...

Truly Saint Patrick and my wild Irish ancestors were with me on the day I decided to play around in my kitchen creating this...

"Irish Eyes Are Smiling"


So in honor of my Ó Céileachair (anglicized to Kelleher) ancestors, who immigrated here during one of the many famines to strike the heart of that beautiful Emerald Isle, I give you this addition to your next St. Paddy's celebration...

Trust me; just as Ó Céileachair means a "lover of company", your friends will be feelin' the luck of the Irish and loving you too after enjoying a few of these sinfully tasty little devils- because they are, oh so "Definitely Delish"

"Cutting up something yummy for Family"

"Irish Coffee Fudge"

Ingredients:
Coffee layer:
2 bags Semi-Sweet Ghirardelli Chocolate Chips (12 oz. each bag)
1 can Sweetened Condensed Milk (14 oz.)
8 tablespoons Jameson Irish Whiskey (½ cup)
2 tablespoons Espresso Powder (Nescafé Instant coffee is also a good alternative)
1 tablespoon Cornstarch


Irish Cream Layer:
1 ½ bags of Ghirardelli White Chocolate Chips (11 oz.)
1/4 cup Sweetened Condensed Milk
1/4 cup of Bailey's Irish Cream
2 teaspoons Cornstarch

Other:
Nescafé Instant Coffee, for dusting (2 teaspoons)
11x7 or 8x8 deep sided pan lined with plastic wrap


"Sweet, decadent and delicious"

Directions:
1. Mix Jameson Whiskey, Cornstarch and Espresso powder in a microwave safe measuring cup. Then heat in the microwave for 40 seconds, stirring halfway through...
2. Set aside in fridge to thicken; then in a separate cup repeat with Bailey's Irish Cream and Cornstarch, also setting it in fridge to thicken slightly...
3. Meanwhile in 2 separate (large) Microwave safe bowls add the chocolate chips; both bags of dark chocolate to one, and the white chocolate in the other...
4. Add a full 14 oz. can of sweetened condensed milk to the dark chocolate chips, and a 1/4 cup of sweetened condensed milk to the white chocolate...
5. At this time pour the Jameson and Espresso mixture into the bowl of Dark Chocolate and heat in the microwave 20 seconds at a time, stirring in between heating’s until the chocolate has just melted—set aside and stir until a thick consistency is reached...
6. Pour and evenly spread the chocolate mixture into the plastic wrap lined baking dish or pan-then dust sparingly with Nescafe instant coffee...
7. Now add Bailey's Cream mixture to the white chocolate and heat in the microwave 20 seconds at a time, stirring, until chocolate just melts...
8. Continue stirring on the counter till smooth and then pour into prepared dish, overtop the dark chocolate—then spread smoothly covering the dark chocolate...
9. Dust sparingly with Nescafe Espresso powder, cover and cool in the refrigerator overnight—cut into 1 inch squares the next day and serve cool…
Note: Keep refrigerated until ready to serve; depending on pan size, makes between 60 and 80 pieces...

"Perfect for the holiday or that Irish Coffee lover in your life"