"Polenta with Roasted Vegetable Sauce"
I can't believe it, but it's been only just a little over a year now since I started playing around with the idea of blogging online...
It certainly has felt like so much longer to me...
Now between all of the cooking, photographing and sharing of my recipes I've been blessed to have met some of the kindest, sweetest and most supportive "Foodies" from just about every corner on Earth...
"Venice" by R.Fisher
They really have been beyond wonderful and I've cherished the friendships I've made with each of them...
One of the very first good friends within the "Foodie" community that I made was Lizzy, from A Tasty Mess...

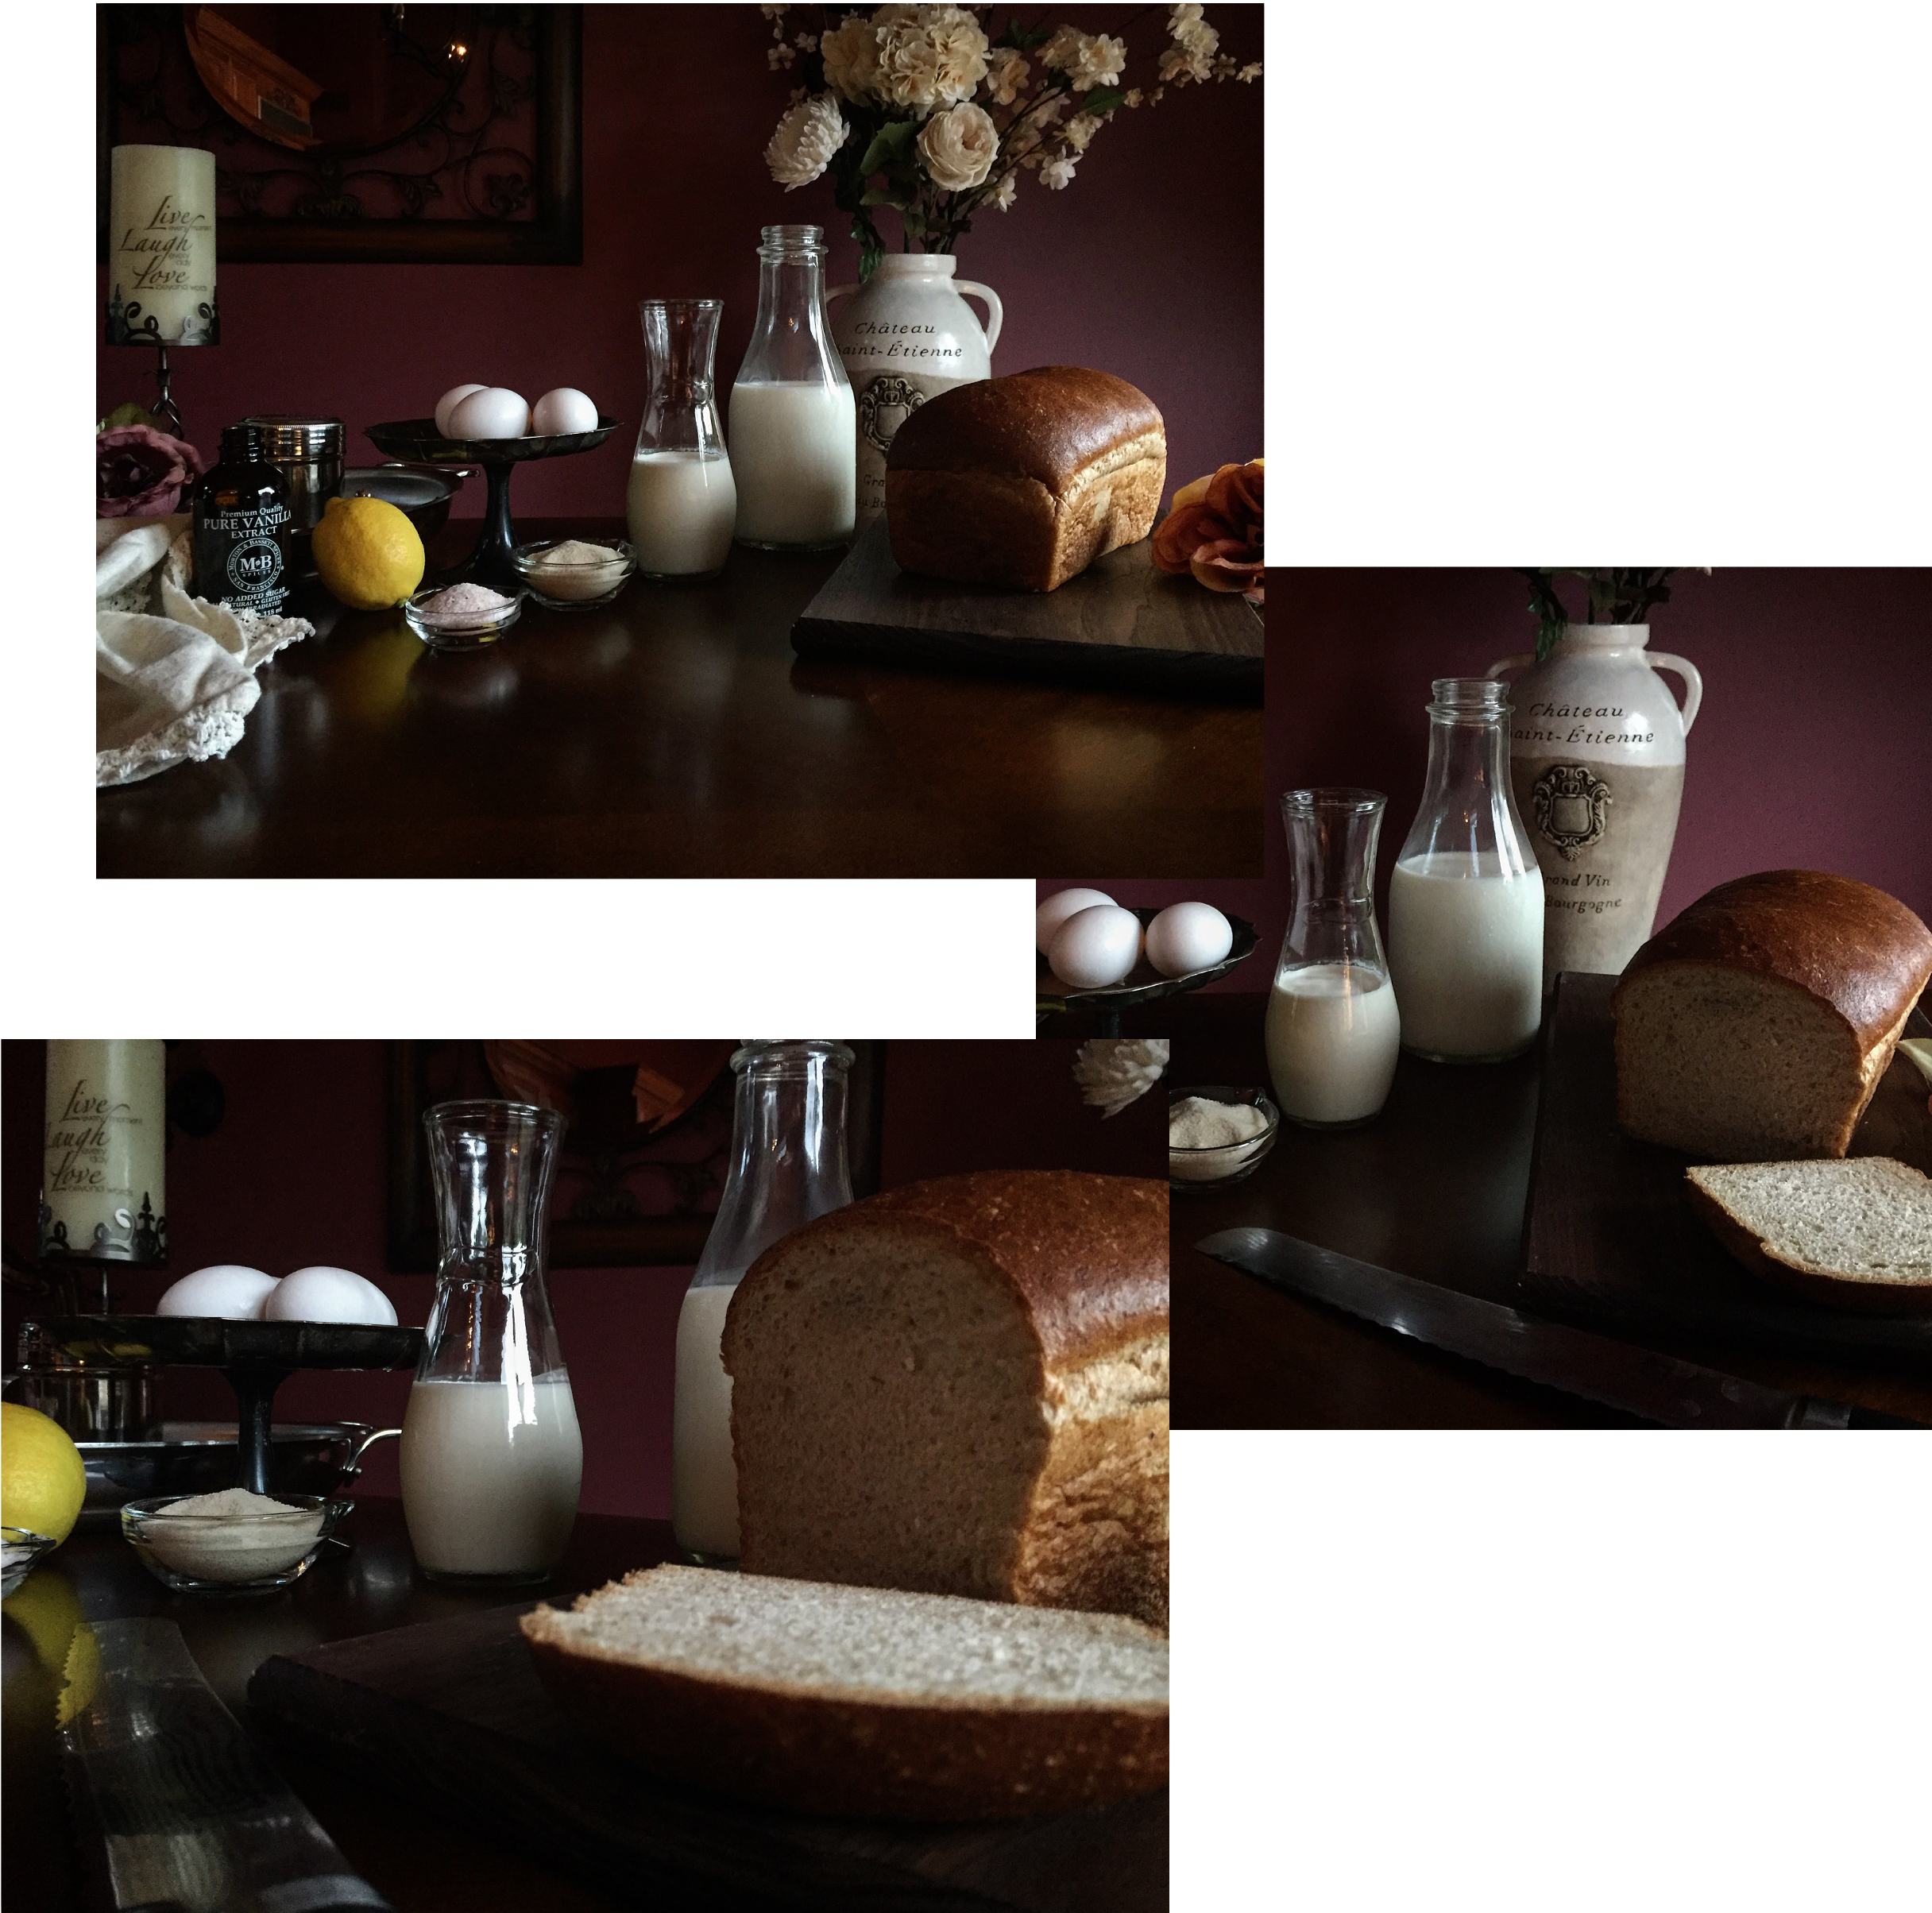
"Farm Fresh and Organic"
An at home Chef, much like myself, from Houston Texas—who beyond just the incredible encouragement she always gave me, and my early endeavors, was also kind enough to invite me to write, and create, a guest post on her blog—a post that amazingly enough even made it onto the The Daily Meal...
"Sweet Polenta with Sauce"
For someone like myself who hadn't ever even shared a recipe, let alone write & photograph for a website, this was an opportunity that I've always been grateful for...
So in honor of the recipe that started it all, I've decided to take most of the same wonderful ingredients to create this dish—a mix of farm fresh and organic, brought together to give you a scrumptious "Sweet & Creamy Polenta" with a "Roasted Vegetable Sauce"
Try it out for yourself. I'll think you'll find it, oh so "Definitely Delish"

"Freshest Ingredients"
"Sweet & Creamy Polenta" with "Roasted Vegetable Sauce"
(serves about 4)
Roasted Vegetable Sauce:
Ingredients:
1/3 cup Kalamata Olive oil
1-2 Japanese eggplants, cut into 3/4 to 1 inch pieces
1 medium Zucchini, cut into 3/4 inch pieces
1 yellow squash, cut into 3/4 inch pieces
2 teaspoons tomato paste
1/4 cup white wine (Sauvignon blanc or Pinot Grigio)
1 cup chopped fire roasted tomatoes (fresh or canned)
6 tablespoons water
1/4 teaspoon sea salt
1/4 teaspoon organic sugar
1/2 tablespoon Shallot, minced
1 tablespoon fresh oregano, chopped
Directions:
1. Heat the oil in a large deep sided sauté pan on medium heat—add the various sliced vegetables (zucchini, eggplant & squash) and pan roast for 10 minutes, or until nicely browned...
2. Now add the shallots and cook for one minute more before draining off any excess oil if necessary...
3. Follow by adding the tomato paste to the pan and stir, cooking for 2 minutes, before then adding the wine and cooking for 1 more minute...
4. Add the chopped tomatoes, water, sea salt, organic sugar and fresh oregano and cook for a further 5 minutes to get a deep-flavored sauce. Set aside or save; warm it up when ready to serve...
"The Grand Canal" by R.Fisher
Polenta:
Ingredients:
6 ears of Farm Fresh Corn
2 cups Water
3 tablespoons unsalted Irish Butter, diced
7 ounces Bulgarian Feta, crumbled
1/4 teaspoon Sea Salt
Fresh ground White Pepper

"Polenta with Roasted Vegetables"
Directions:
1. Remove the leaves and "silk" from each ear of corn, then chop off the pointed top and stalk. Using a sharp knife to shave off the kernels by either standing each ear upright on its base and shaving downward, or lay each ear on its side on a cutting board to slice off the kernels...
2. You want to have about 1 pound of corn kernels...
3. Place the kernels in a medium saucepan and barely cover them with the water. Add one tablespoon of butter and a pinch of salt. Cook for 15 minutes on low heat simmering...
4. Use a slotted spoon to remove the kernels from the water and place them into a food processor; reserve the cooking liquid...
5. Process them for several minutes, to break as much of the kernel case as possible. Add some of the cooking liquid if the mixture becomes too dry to process...
6. Now return the processed corn to the pan with the reserved cooking liquid and cook, while stirring, on low heat for 10 to 15 minutes, or until the mixture thickens to an almost mashed potato consistency. (If you have a lot of liquid left in the pan, it can take longer to cook down the polenta, and it will sputter)
7. Fold in the remaining butter, the feta, sea salt and some pepper and cook for another 2 to 3 minutes. Taste and add more sea salt & white pepper if needed...
"Porto'Fino At Night" by R.Fisher