"Cooking is like love, it must be entered into with abandon or not at all."
This is one of my favorite quotes and, in a sense, encapsulates who I am as a person and a Chef..
Now I'm sure that more then a few of you could agree that each and every year sees the holiday season come quicker and quicker; so that before you know it the kids have no sooner gone back to school then a crazy headlong rush to New Years Eve has begun, with decorations for Christmas competing with Halloween and Thanksgiving from the end of August onwards..
It becomes such a mad dash, and with the commercialized bombardment of each new holiday as it nears, an almost mind numbing onslaught..
It's truly times like these that I wish I could go back to when I thought things were simpler, warmer and more heartwarming..
To those days, as I kid, when the family's would gather around each new holiday and take their time, tell stories, hold grandchildren and relax in the warm glow of the holiday spirit..
To often it becomes about the gifts and the next big thing, instead of treasuring the time we have with those we love and cherish on this earth..
I think as I've gained in age, if not always in wisdom, I've come to regret not always remembering what truly should have mattered to me all along..
Now, with finally coming back to a place to call home and a community to share with, I've wanted to start some new but old traditions in me and my Baby's home..
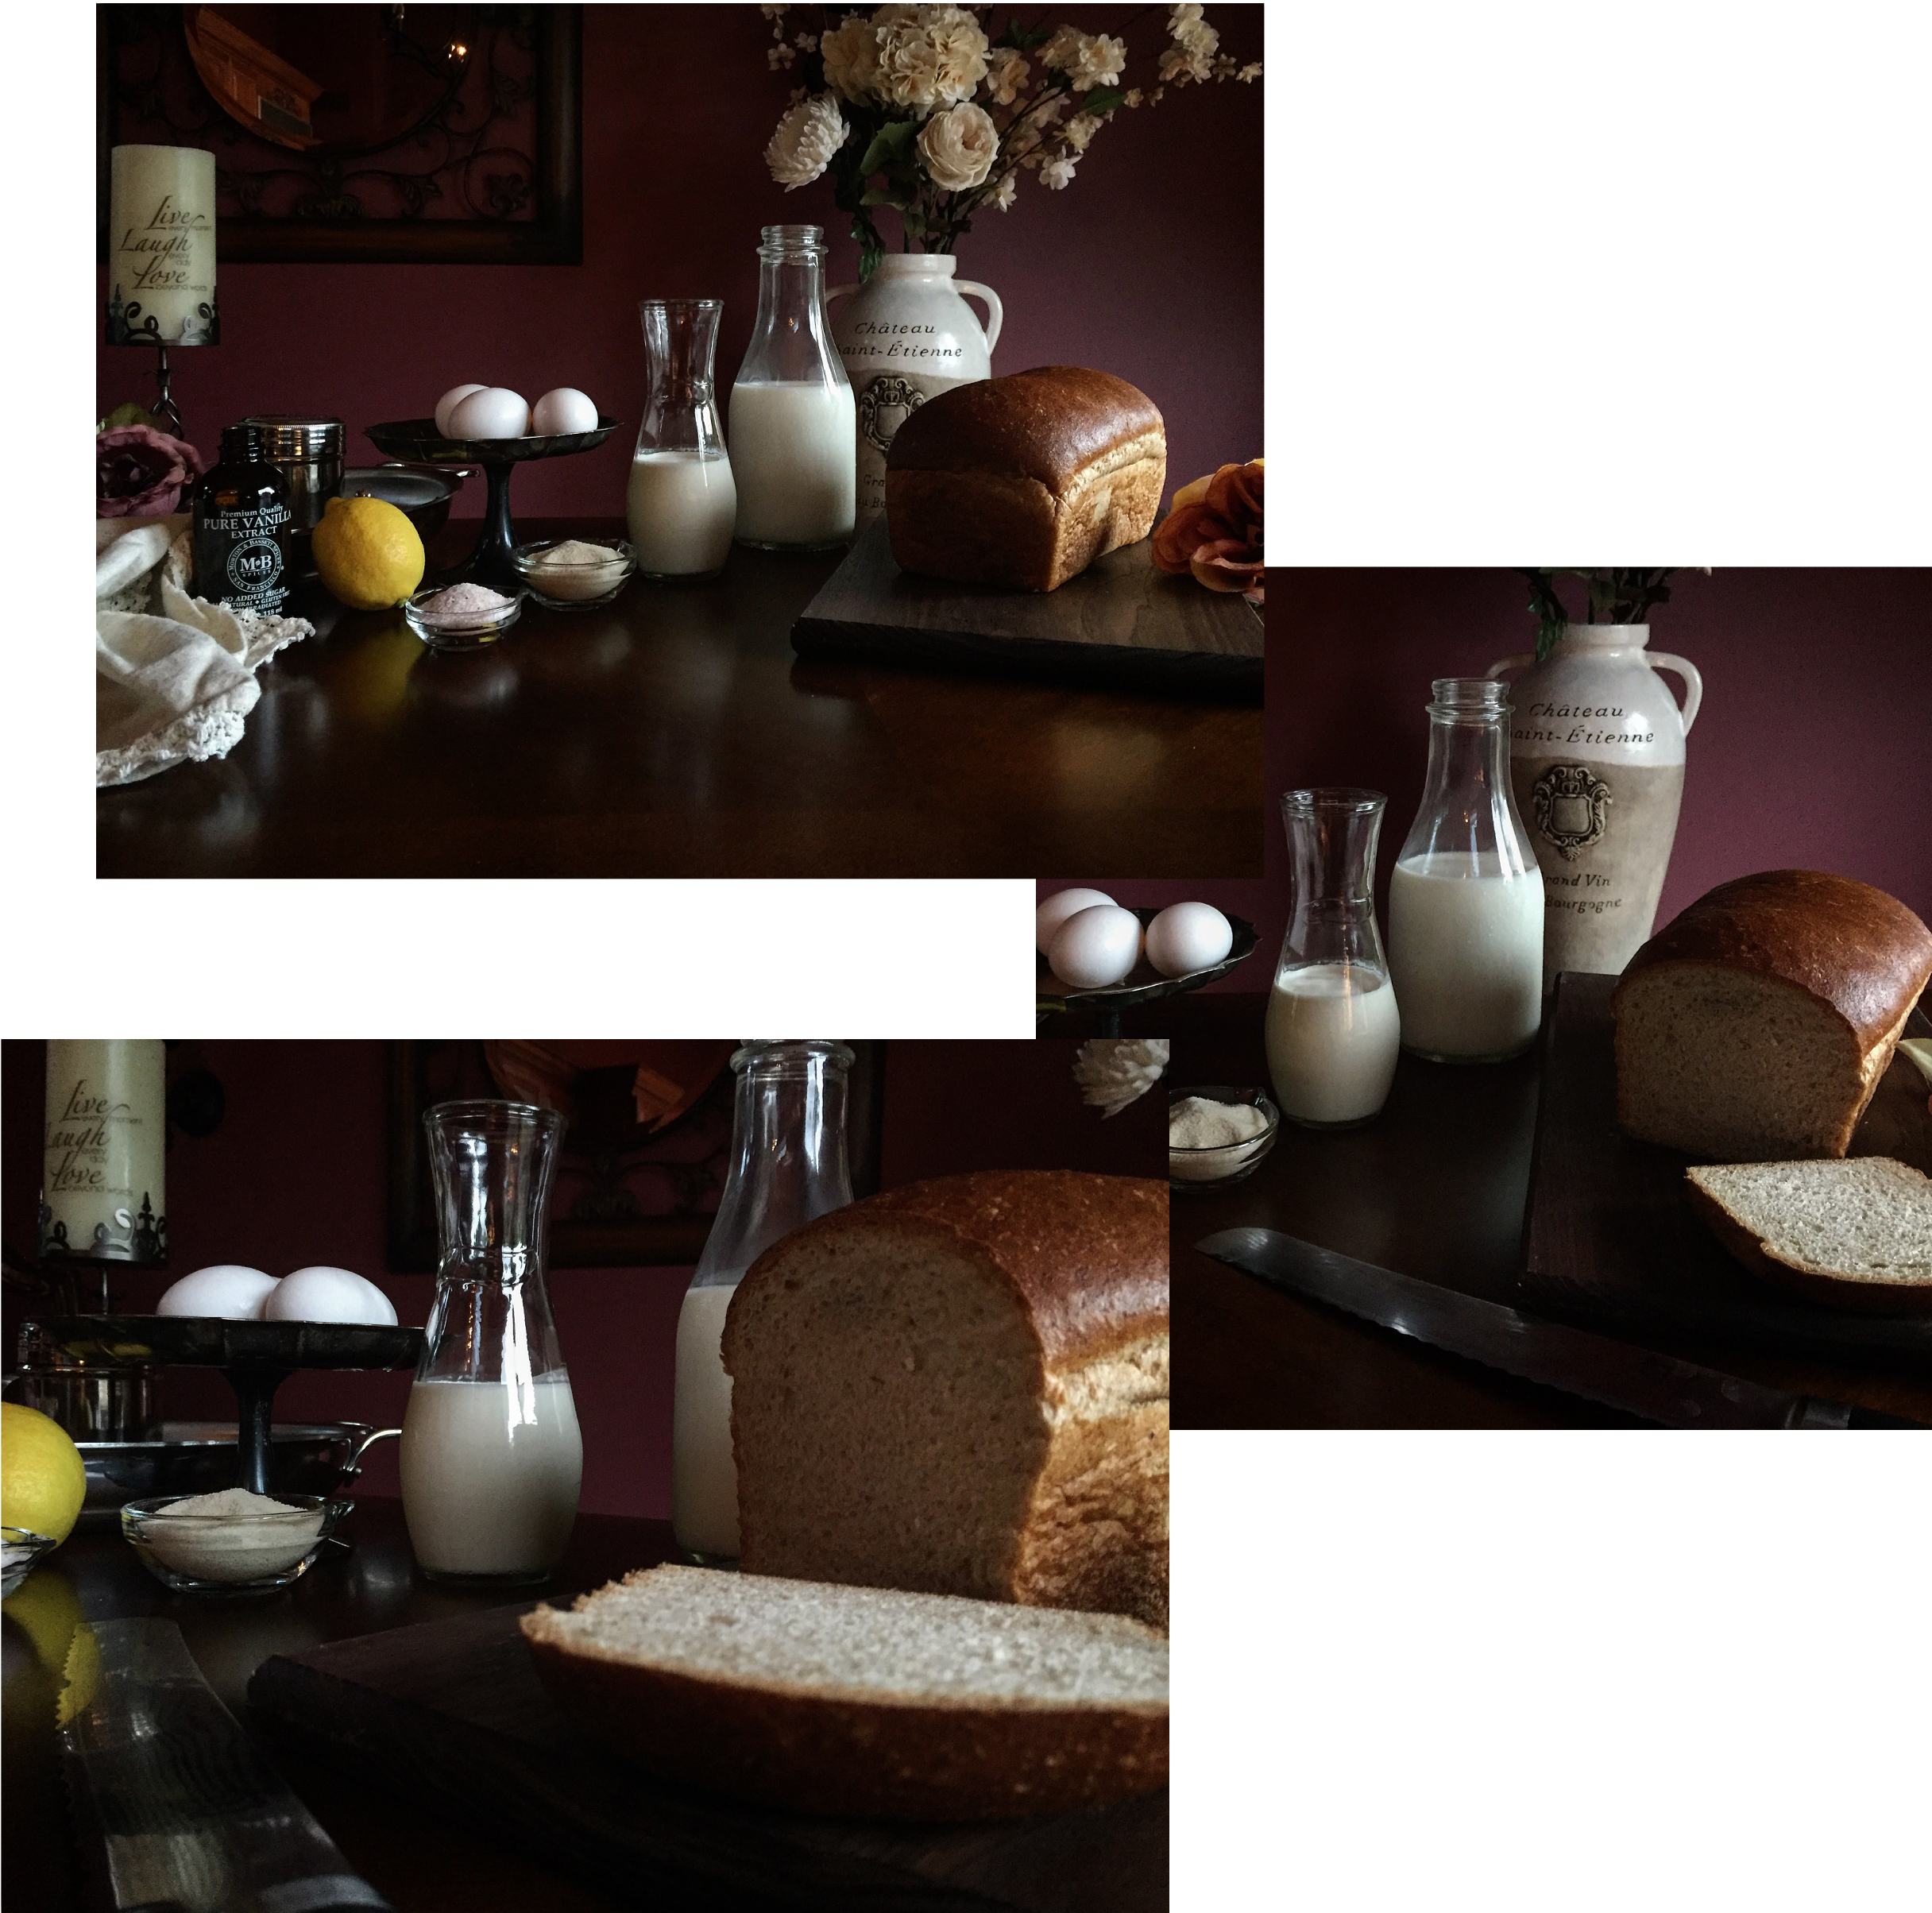
The first one I'd like to talk to you about is the return of the "Holiday Brunch"
To me this idea reminds of early mornings at my Granny's house with the family gathered around talking, eating and opening presents slowly all morning long..
Nothing could feel better then the idea of having a large gathering of family in the house just spending time together, it's really what the Holiday's should be about after all..
As much as I love food, cooking and photography I could go on and on about each and every dish, from the tastes and aromas all the way to the lighting and display; but for today let me just say that a brunch is one of those meals that can truly run the gamut of tastes and flavors..
Being a mix of breakfast, lunch and dessert dishes gives you the freedom to truly get creative both in your presentation and choices. For me though, for this year, I wanted some simple, easy, warm and comforting dishes to choose from..
After a couple of trips to places like Pat's Marketplace and Gemelli's I got started on what would be my food fare for the family on Christmas morning..
Remember the choice is yours on what to make and the possibilities can be truly endless..
So this year I'm bringing it back, for my family and friends, and maybe with this for a little inspiration you might do it to..
Because it is, oh so, "Definitely Delish"
"Banana French Toast Bake"
—This is one of my nieces personal favorites no matter what time of year, or time of day, it is...
I love it because it can be done a day or two ahead and kept refrigerated until you're ready to cook...
Ingredients:
French Toast:
4-5 small packages King's Hawaiian Rolls
1 8 oz. package Cream Cheese
2-3 Bananas, Sliced
6 Eggs
2 cups of Milk
2 cups of Half and Half
1/4 cup Sugar
1/4 Maple Syrup
1/2 teaspoon Cinnamon
Maple Vanilla Sauce:
1/2 cup Light Brown Sugar
2 tablespoons Maple Syrup
1/2 cup Heavy Cream
4 tablespoons Butter
1 teaspoon Vanilla Extract
Directions:
1. Cut King's Hawaiian Rolls into 1 inch cubes and place on baking sheet..
2. Bake in oven at 400 degrees for several minutes, until buns dry and turn slightly golden
in color..
3. Place half the cubes into a Baking dish or foil wrapped spring-form pan..
4. Cut cream cheese into small cubes and place over bread in dish. Top with sliced Bananas,
then cover with remaining bread cubes. (You can also mix in Chocolate chips if desired)
5. In a large bowl, beat eggs. Add milk, half & half, sugar, syrup and cinnamon-mix well..
6. Pour mixture over bread, cover and refrigerate 8 hours-or overnight..
7. Remove from refrigerator approximately 30 minutes before cooking and cover with foil.
8. Pre-heat oven to 350 degrees, then bake covered for 30 minutes..
9. Uncover and continue baking 25-30 minutes more, until a knife inserted into center comes
out clean..
10. To make the Maple Vanilla Sauce; combine all ingredients except Vanilla extract in a
saucepan and bring to a boil, lowering heat and simmering for 5 minutes. Remove from heat
and add vanilla..
11. Serve "French Toast Bake" warm with Maple Vanilla sauce drizzled over top and dusted with powdered sugar..
"No Fuss Eggs Benedict"
—When cooking for a crowd it's always helpful when you can make multiple
dishes together or in the same pan. For this Brunch I did a mix of several of
these time saving techniques, such as store bought pie dough and using the
same pan for the candian bacon, bacon, sausage and chicken fried steaks.
The last trick used the pot I was cooking pasta in to help me with these
delish devils...
Ingredients:
English Muffins (as many or as few as you want to make)
Eggs (You'll need one for each Eggs Benedict)
Canadian Bacon (Again one for each sandwich)
Holandaise Sauce mix (I used Knorr's brand but any will do and home
made, time permitting, is always the best)
1 cup of Milk
2 tablespoons unsalted Butter
Freeze dried or Fresh chopped Parsley
Other:
Pam or other Non-stick cooking spray
Plastic Wrap
Directions:
1. Mix powdered Hollandaise sauce mix with milk and butter in a small saucepan and heat stirring over medium heat. Set aside till needed (if it thickens or cools to much, add a tablespoon of water and heat till smoothand creamy)
2. Using a separate pot of water on the stove; bring it to a low boil, then go on to step 3. (I used the pot of water I was making my Pasta in for the brunch I was preparing)
3. Using a small bowl (like a ice cream cup); take a 1 foot section of plastic wrap and place over the bowl in center pushing down making and
indentation. Spray the plastic wrap with the cooking spray, then crack an
egg into the center of the bowl. Wrap the sides of plastic wrap around the
raw egg creating a bag or pouch, then set aside and repeat with the
remaining eggs you are using (as many eggs for as many Eggs Benedict you
are making)
4. Toss the plastic wrapped egg pouches into the boiling water for 4 minutes; meanwhile slice and toast your English muffin halves, while frying the Canadian bacon in a pan..
5. Using a slotted spoon remove the eggs from the water and set aside till
cool enough to touch while you finish toasting and frying..
6. Now arrange your muffin halves on a tray; set one piece of Canadian bacon on top of each, then carefully open the plastic wrap and place one perfectly poached egg on top..
7. Now using a spoon, drizzle the hollandaise sauce over each-followed by a pinch of parsley for garnish..
Since learning this trick I've yet to fail in poaching an egg for just about any dish I've wanted to use one in, where as before I almost never got it cooked right..
"Vodka Sauce with Pancetta and Peas"
—I love this one for any meal, Brunch or otherwise, because it is such a
simple sauce to make but is always full of a wonderful amount of flavor. It's
definitely a recipe that's sure to please any guests.
Ingredients:
3 tablespoons Unsalted Butter
2 Garlic Cloves, finely chopped
1 28 oz. can Crushed Tomatoes
1/4 teaspoon Red Pepper Flakes
1/2 cup of Heavy Cream
1/4 cup of Vodka (I always keep a bottle of our LIV Vodka from our local Long Island distillery on hand for this recipe)
4-6 ounces thick cut chopped Pancetta
1/2 cup of Frozen Peas (more if desired)
1/4 cup Parmesan cheese, shaved (extra on side for guests)
Sea Salt & Ground Pepper
2-3 Tablespoons Fresh chopped Italian Parsley
1 pound Penne Pasta
Directions:
1. Bring a large pot of salted water to a rolling boil and add Penne pasta,
cooking til al dente-aproximately 11-13 minutes..
2. Meanwhile, in a large deep Skillet, melt butter over medium heat. Add
Garlic and cook until golden, aproximately 2 minutes. Add Pancetta and
cook for 2 minutes more-remove to towle to drain..
3. Add Crushed Tomatoes and red pepper flakes and simmer for 5-6 minutes..
4. Stir in Heavy cream and, stirring well, for 1 minute..
5. Add Vodka and continue stirring for 2 minutes more, season with salt and pepper..
6. Toss drained pasta with sauce, pancetta, peas, parsley and cheese-mixing well..
7. Serve garnished with additional cheese and parsley on top..
"Apple Cinnamon Galette"
—One of my favorite things in the world is apple pie; that is why for a Brunch (when time is limited) I love taking out this simple french pastry technique, the Galette, to wow my audience. Always looks so amazing, and the taste, it never disappoints...
Ingredients:
2 Rome, or other large Apples
1 Stick of unsalted Butter
2-3 tablespoons of Organic Sugar
1/2 teaspoon of Cinnamon
1/8 teaspoon of Nutmeg
1/4 cup of Sliced Almonds
1 package Pillsbury pre-made pie dough (You can make your own, but when creating so many dishes it can be a life saver to use pre-made)
1/2 teaspoon of Cinnamon Sugar (McCormick, or your preferred brand)
1 tablespoon Sugar in the Raw (Turbinado Sugar)
1 Egg +1 teaspoon of Water (for Egg wash)
Directions:
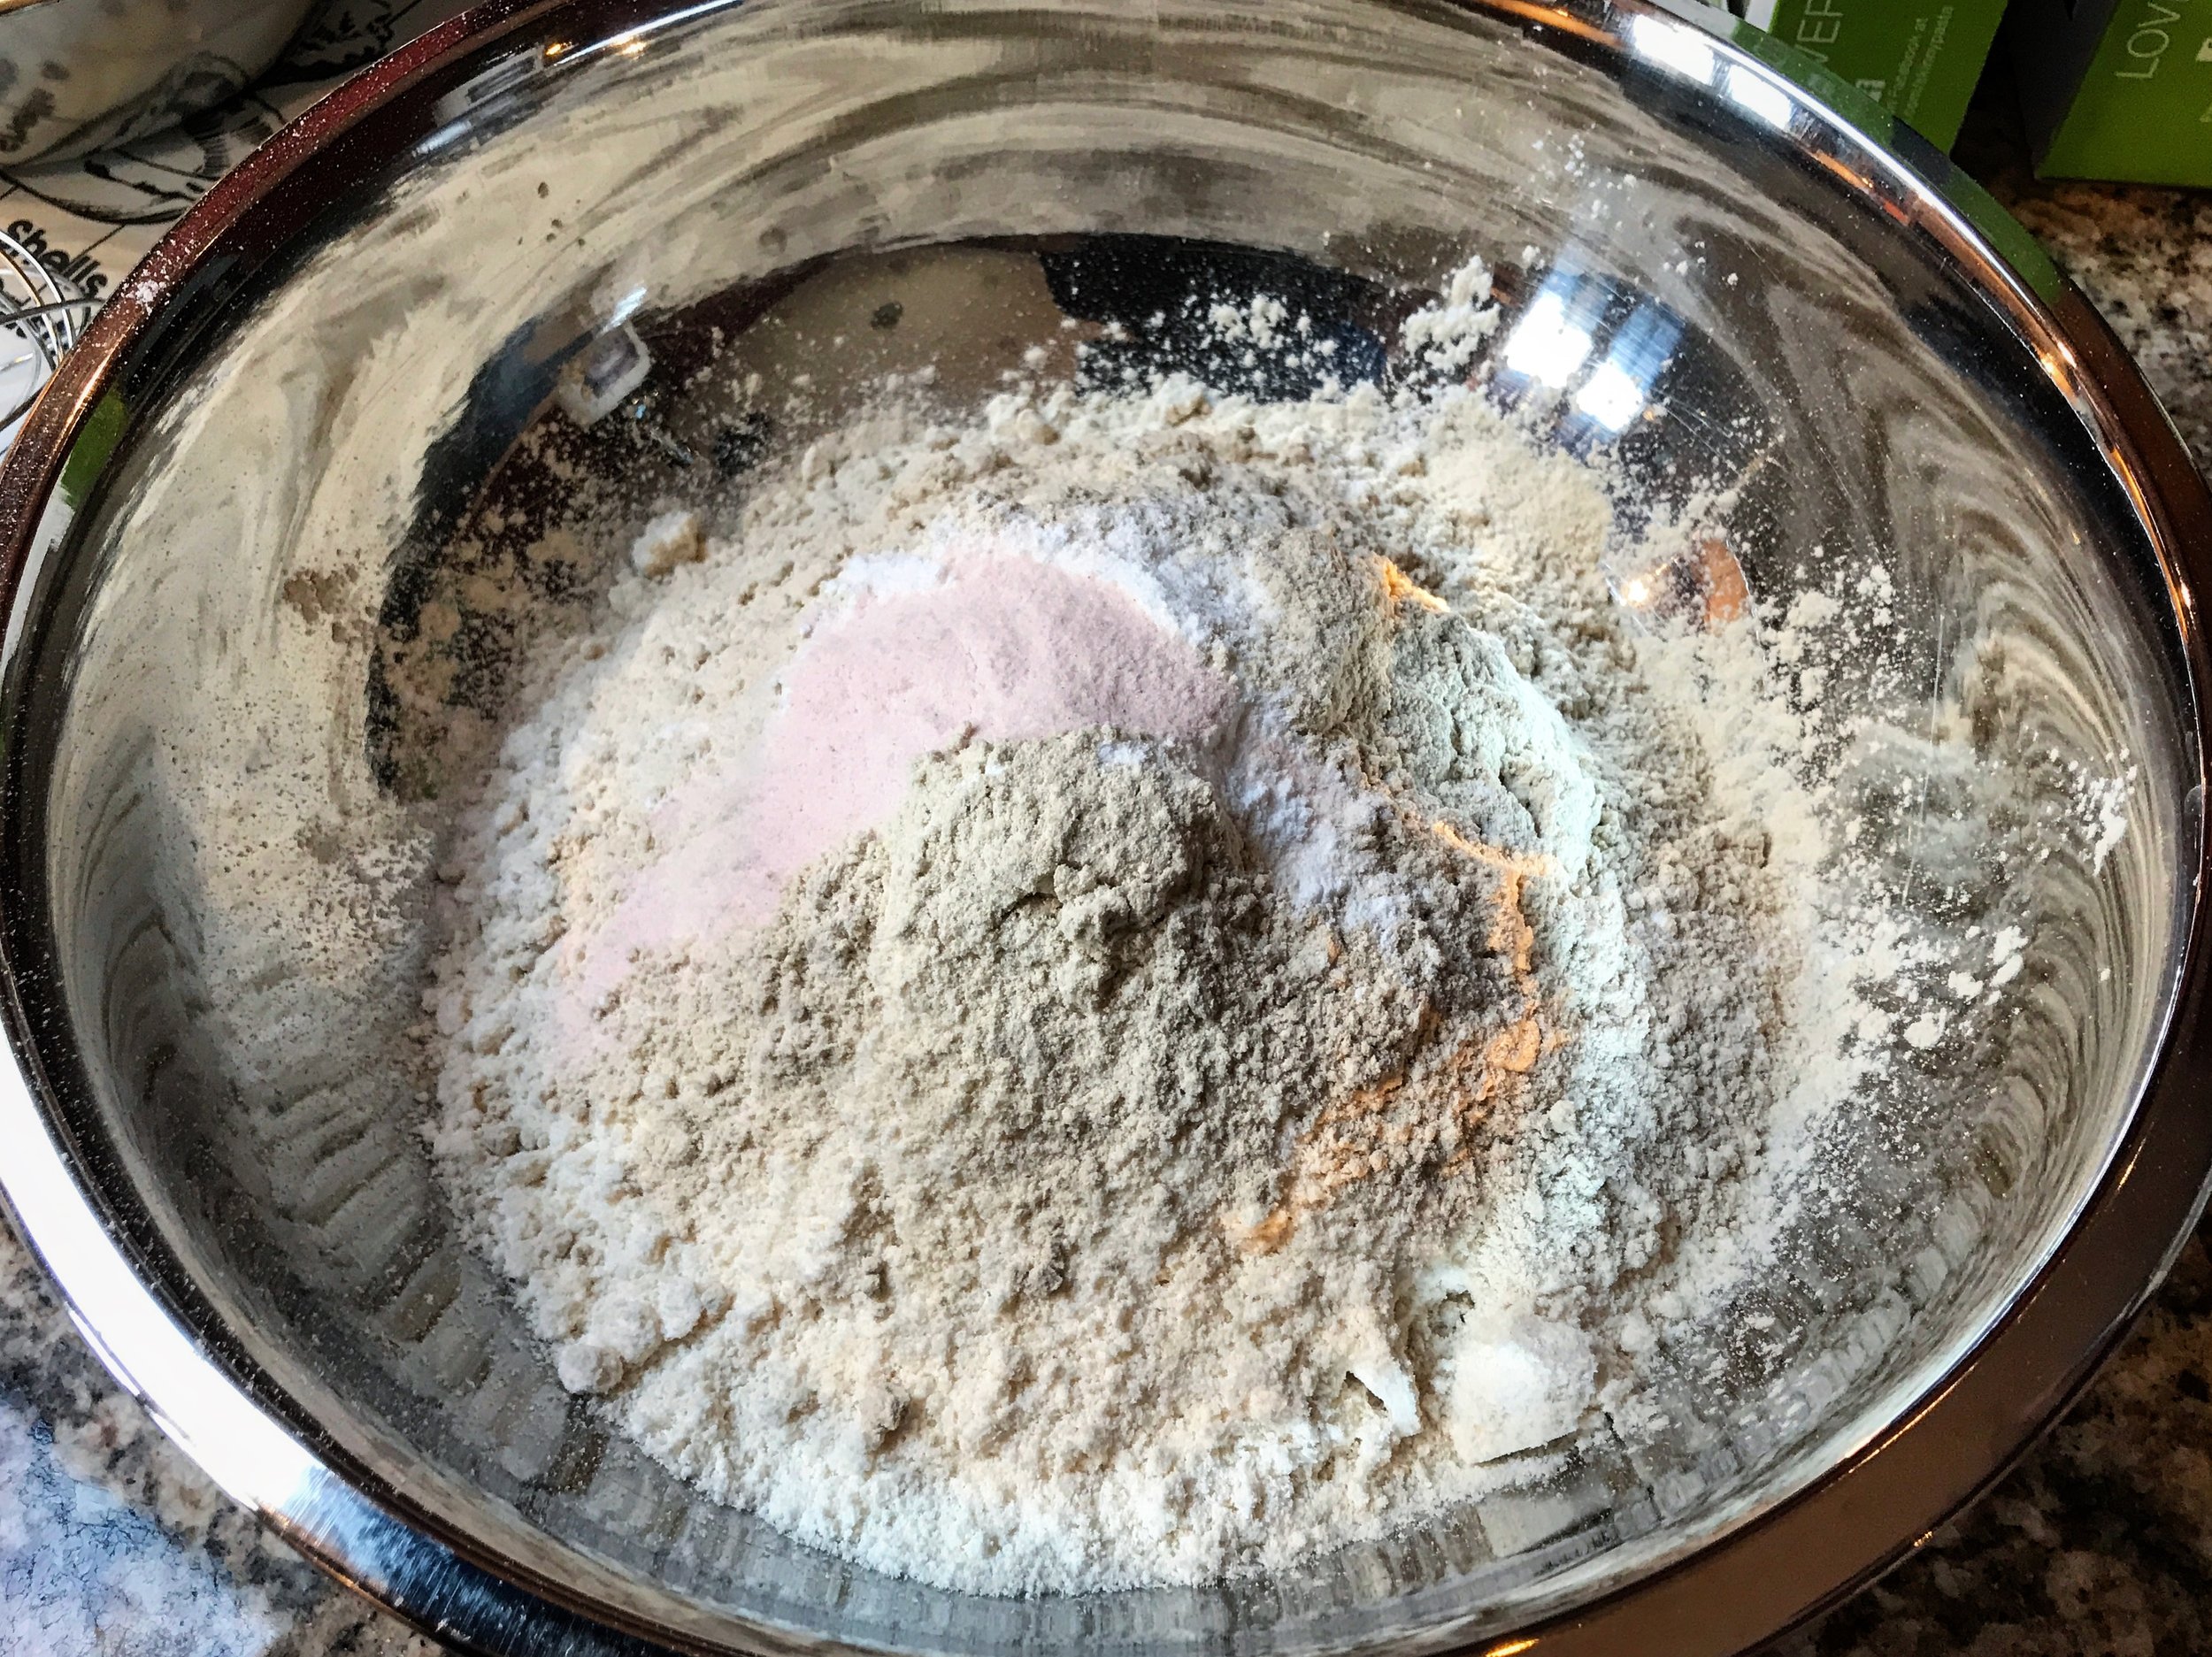
1. Set butter in dish and allow to soften at room temperature (do not microwave), when the butter has softened enough to work with; add cinnamon, nutmeg and organic sugar then mix together well-adjust cinnamon and sugar til it reaches desired taste..
2. Then take your sliced almonds and crush them using a food processor into smaller pieces, mix the almond pieces with the cinnamon sugar spread till well combined..
3. Pre-heat oven to 350 degrees f. Now core both apples; cutting them in half from top down afterwards, leaving you with two equal halves. Preferably using a mandolin slicer (but a sharp knife and steady hand will do), slice apples creating slices about 1/8 inch or more in thickness. Set aside til ready..
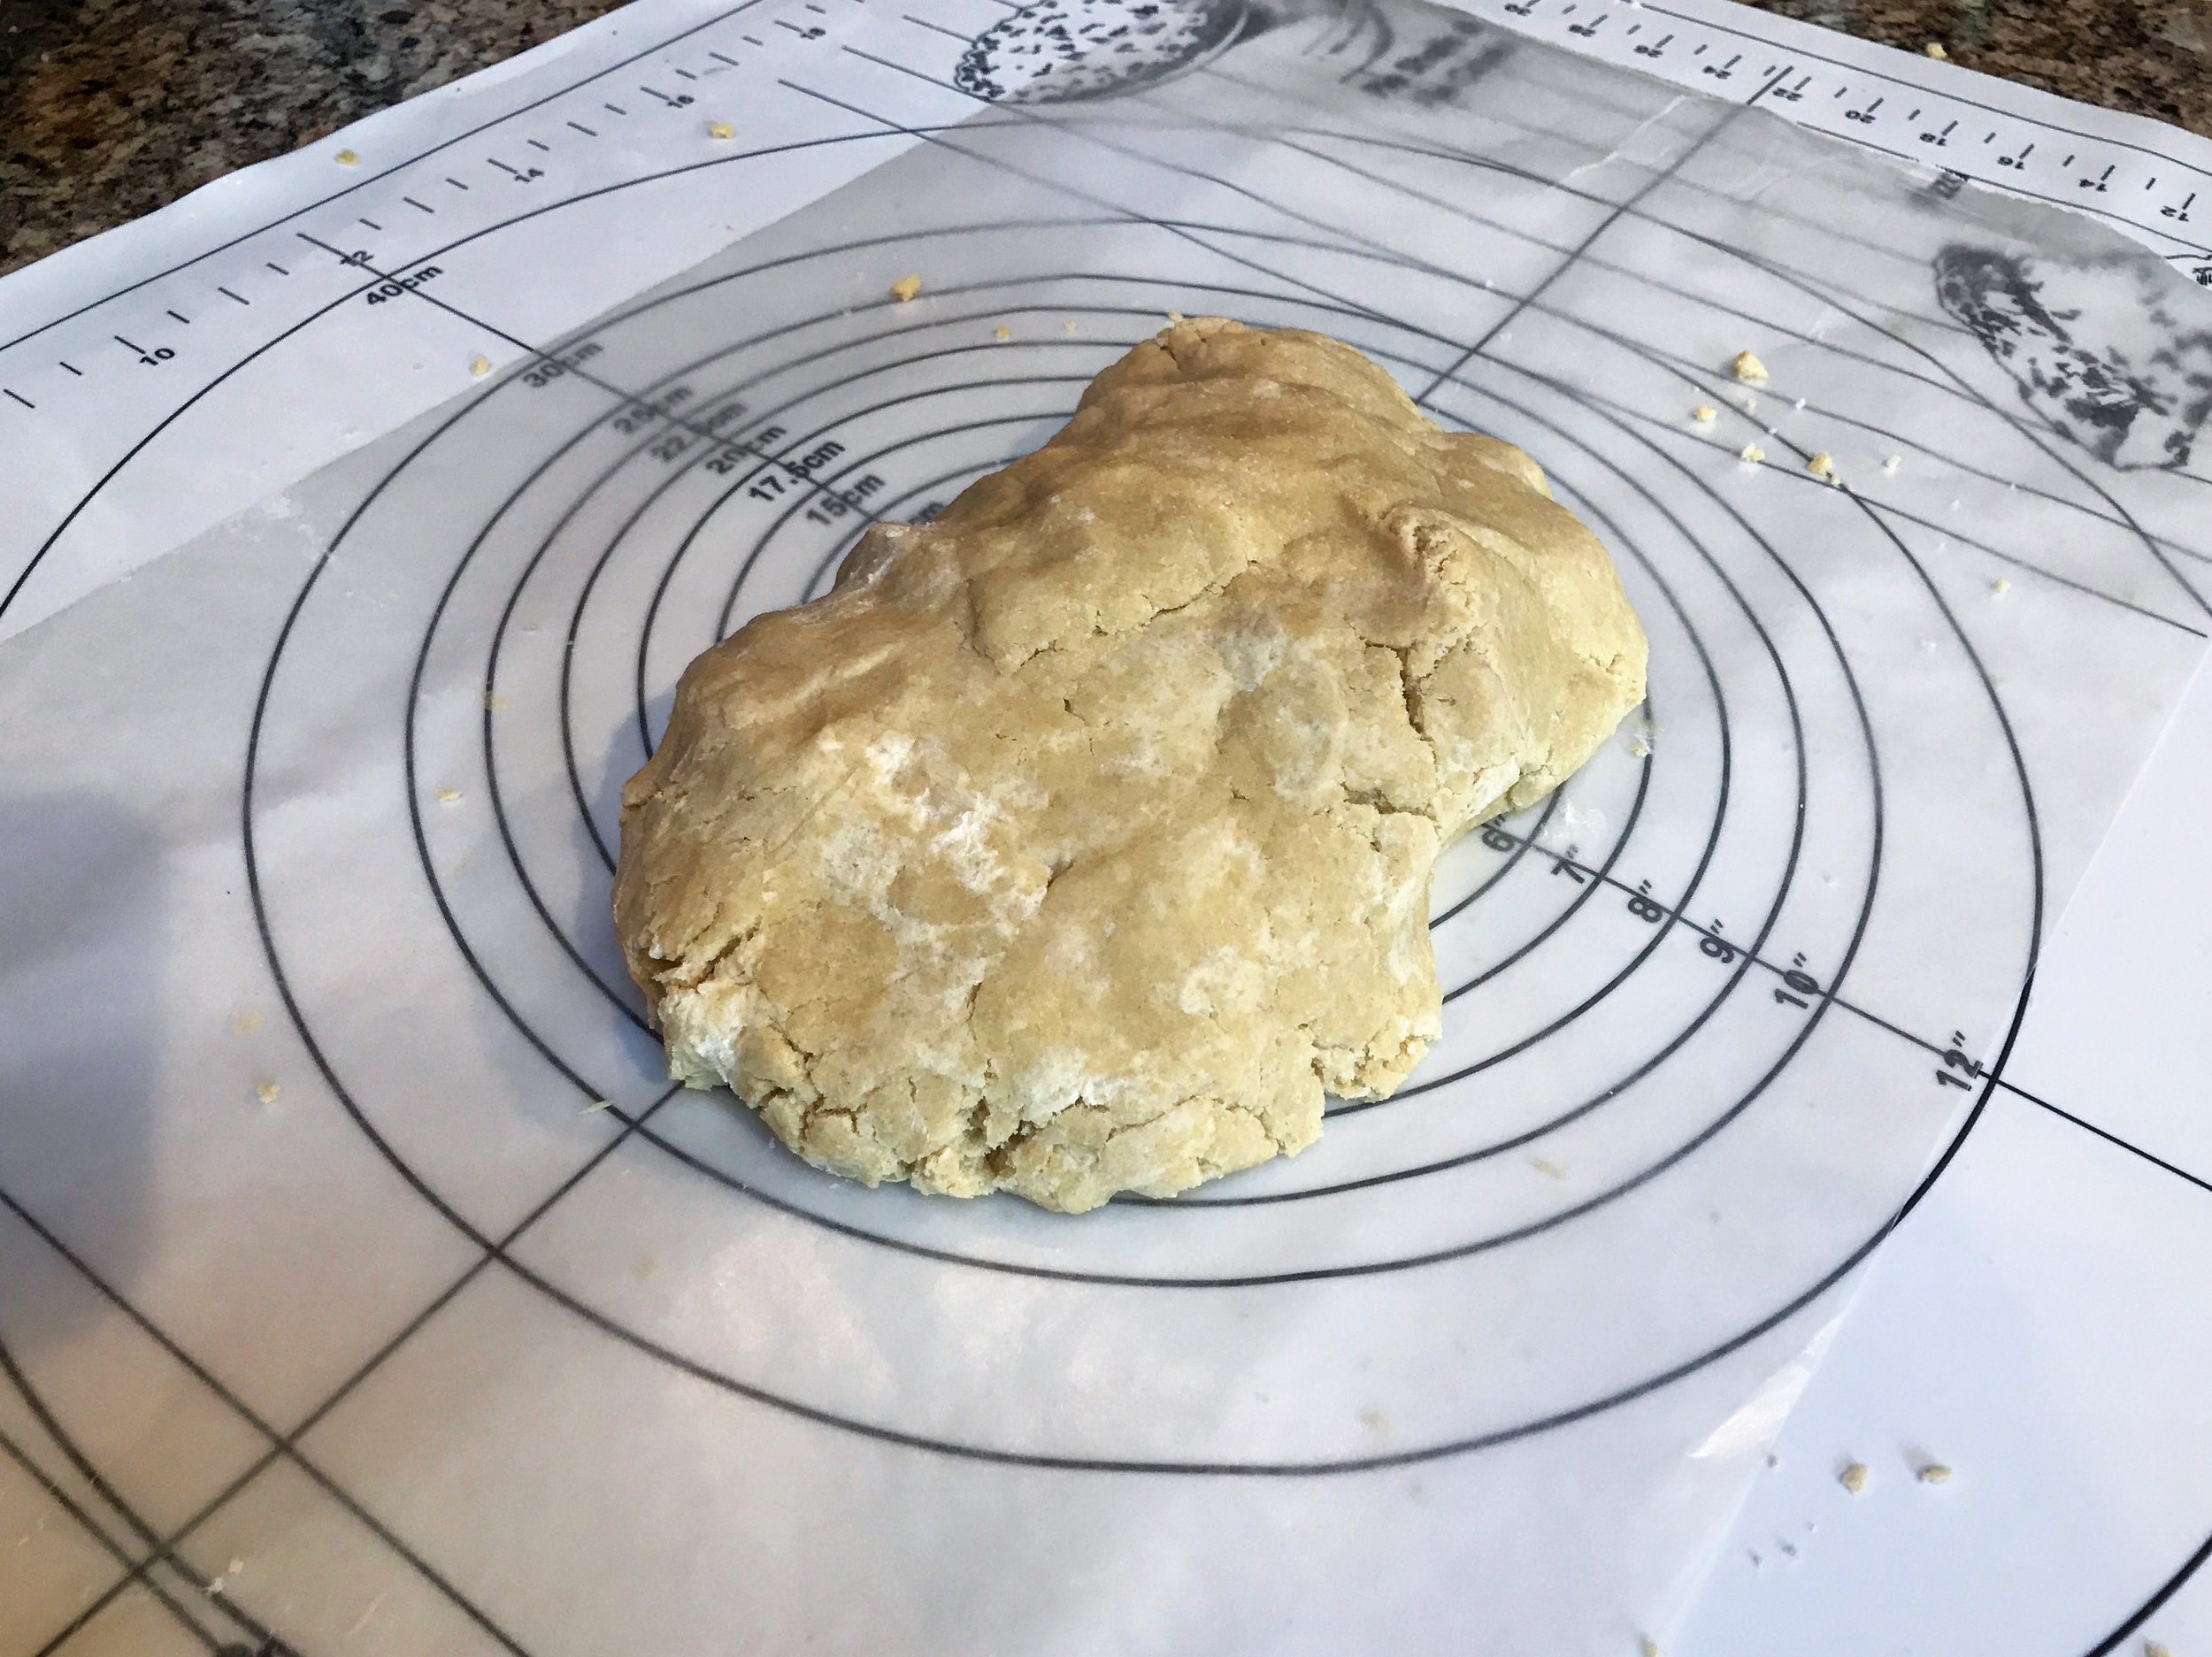
4. Take out one sheet of pie dough from package; roll it out onto a lightly floured piece of parchment paper, then spread the Cinnamon Almond Sugar Spread onto the center of the dough leaving a border about one inch from the edge clean..
5. In a circular pattern arrange apple slices; start from either the outside in or a spiral from the center out, this is more personal preference but it'll create a lovely look when baked and served..
6. Mix egg and water in a glass and using a pastry brush (basting brush), brush down the edge of pie dough-folding it over top of the edge of the apples. After working all the way around the Galette, brush down the pie dough on top and then sprinkle with the Turbinado sugar..
7. Take a few dash of cinnamon sugar and sprinkle it over the exposed apple slices; then set it in the oven to cook for approximately 60-65 minutes, the dough will turn nicely golden brown and the apples will soften when finished. (It can be made quicker at 425 degrees for 35-40 minutes if made by itself-to ensure several items for the brunch were done at the same time, I adjusted accordingly)
8. Serve alone or ala mode with Ice Cream, or homemade whipped cream..
“Vegetable Frittata with Pancetta and Cheese”
—If you’ve never tried a frittata before, they are this incredibly versatile dish that is more than an omelet but less than a quiche. It’ll taste as good cold or room temperature as it does fresh from the oven; and luckily, it is also a dish you can prepare ahead of time. Thus making it a perfect accompaniment to your Holiday brunch..
Ingredients:
6 ounces diced Pancetta (you can use boars head brand diced pancetta available at Pat’s market as well as Stop and Shop’s in your neighborhood-optionally you can use 4 slices chopped cooked bacon)
1 small Vidalia onion, sliced
Several baby Bell mushrooms, sliced
7-8 Eggs, at room temperature
3 tablespoons Cream
2-3 tablespoons Butter, just barely melted
2 teaspoons Olive Oil, plus additional butter for sautéing vegetables
6-8 Fingerling potatoes, sliced (I used a mix of gold and purple potatoes)
Asparagus, woody ends removed and cut into 2-3 inch long pieces
Grape tomatoes, a handful sliced in half (I used mini Marzano tomatoes available at Pat’s marketplace)
2-3 tablespoons Bel Gioioso Asiago, thinly shaved (though regular Asiago is also fine to use)
1-2 tablespoons Locatelli Romano (regular Romano cheese is also fine to use)
Fresh chopped Italian parsley
Sea Salt and fresh cracked black pepper to taste
Dash of Cayenne pepper
Directions:
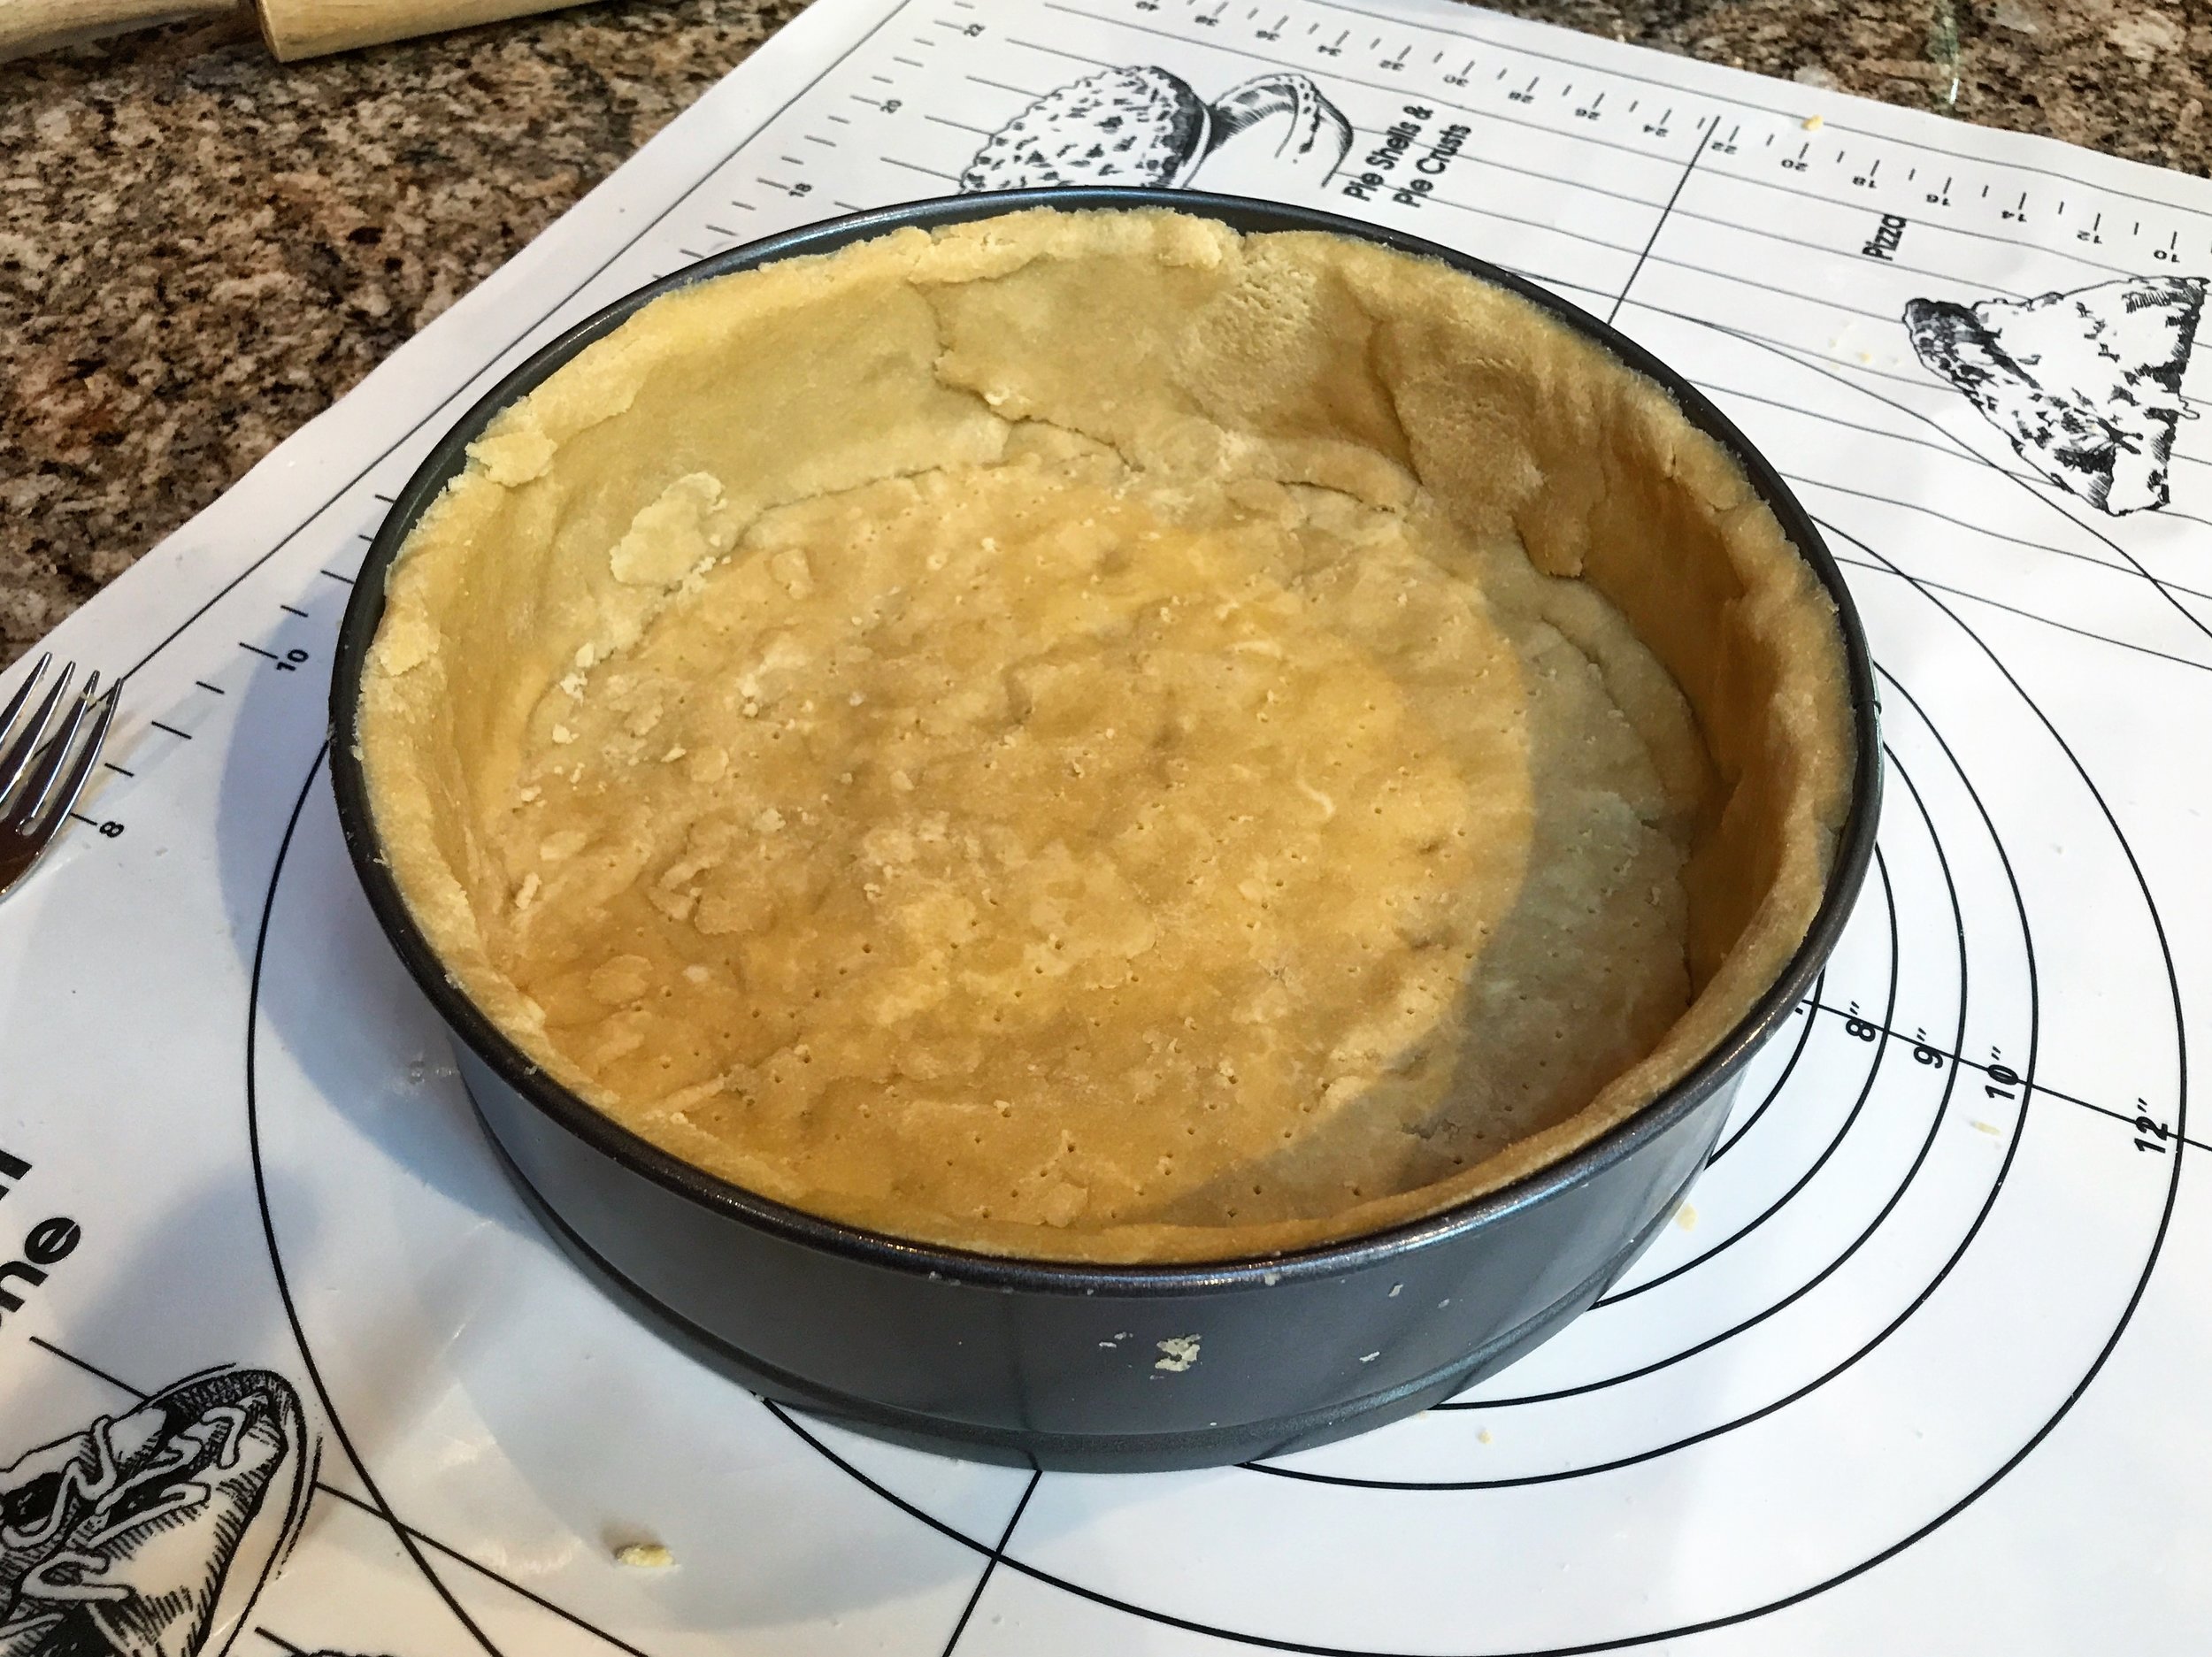
1. Pre-heat oven to 350 degrees, wrap a tart pan (if it one with a removable base) in foil and spray with cooking spray..
2. In a separate skillet, cook diced pancetta until it begins to crisp and place on paper towels to drain..
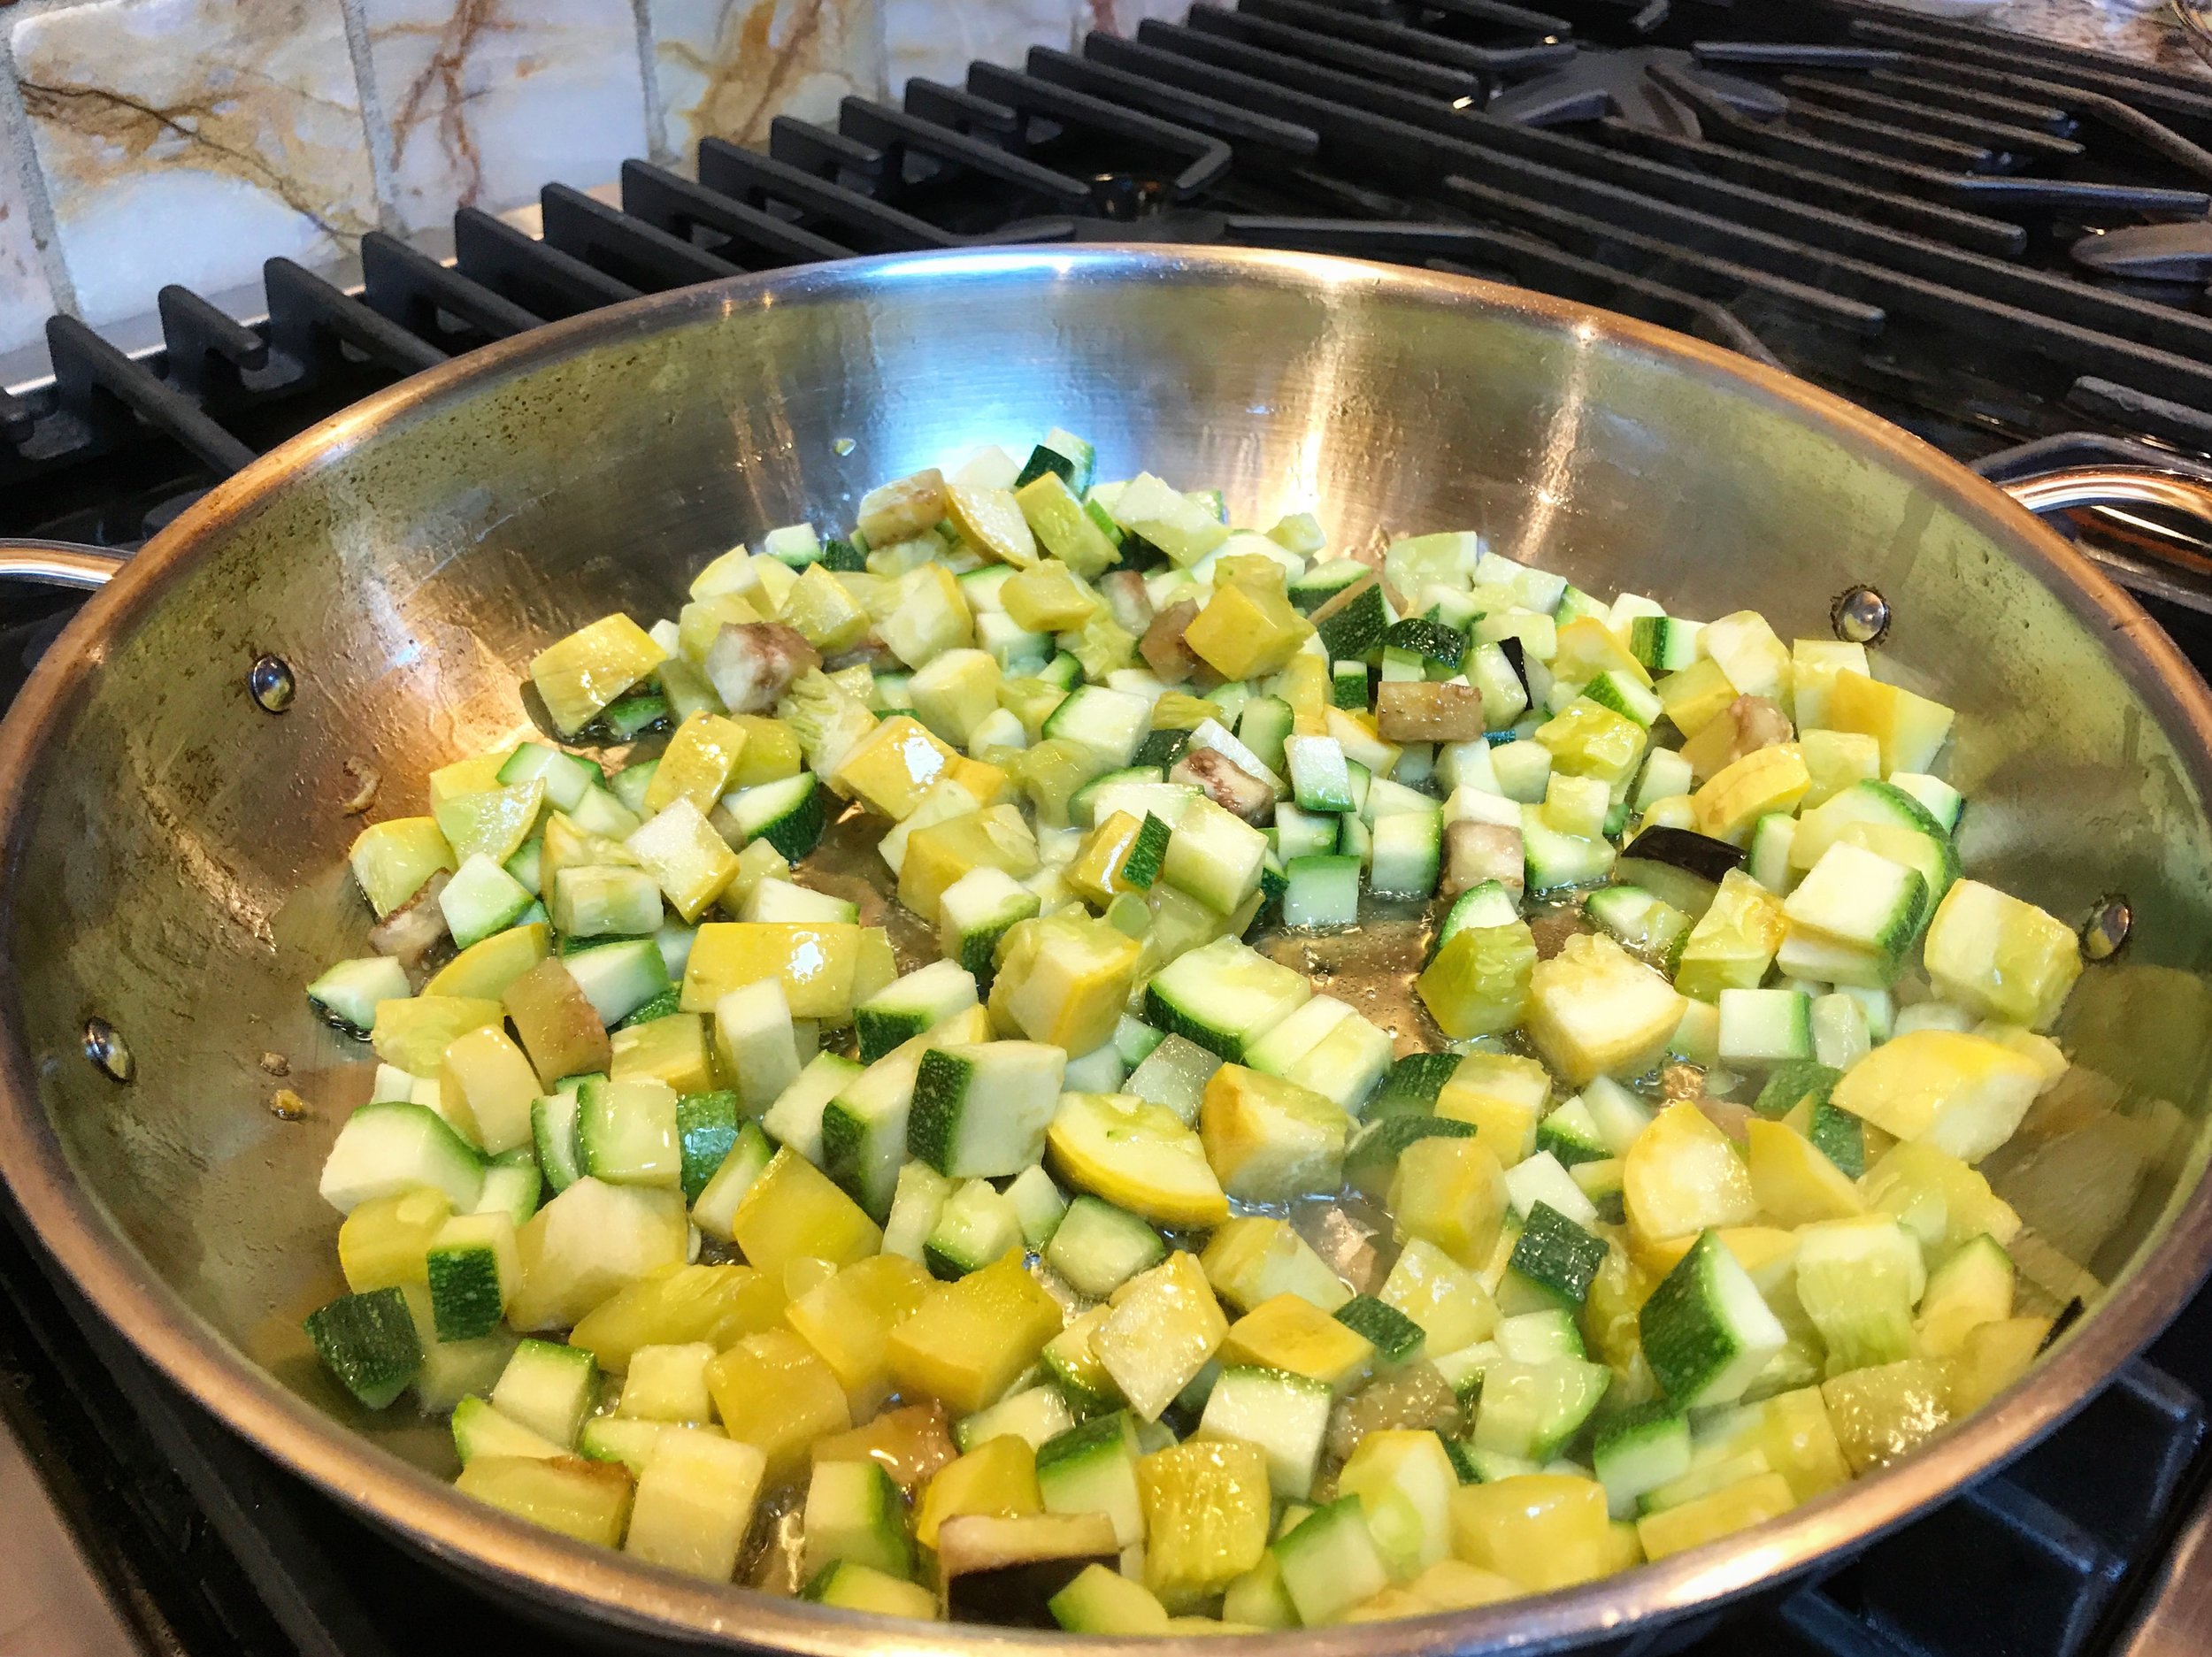
3. In same skillet heat the olive oil over medium high heat and cook the onions and mushrooms until they begin to brown, 10-20 minutes. (Add a teaspoon of butter if necessary)
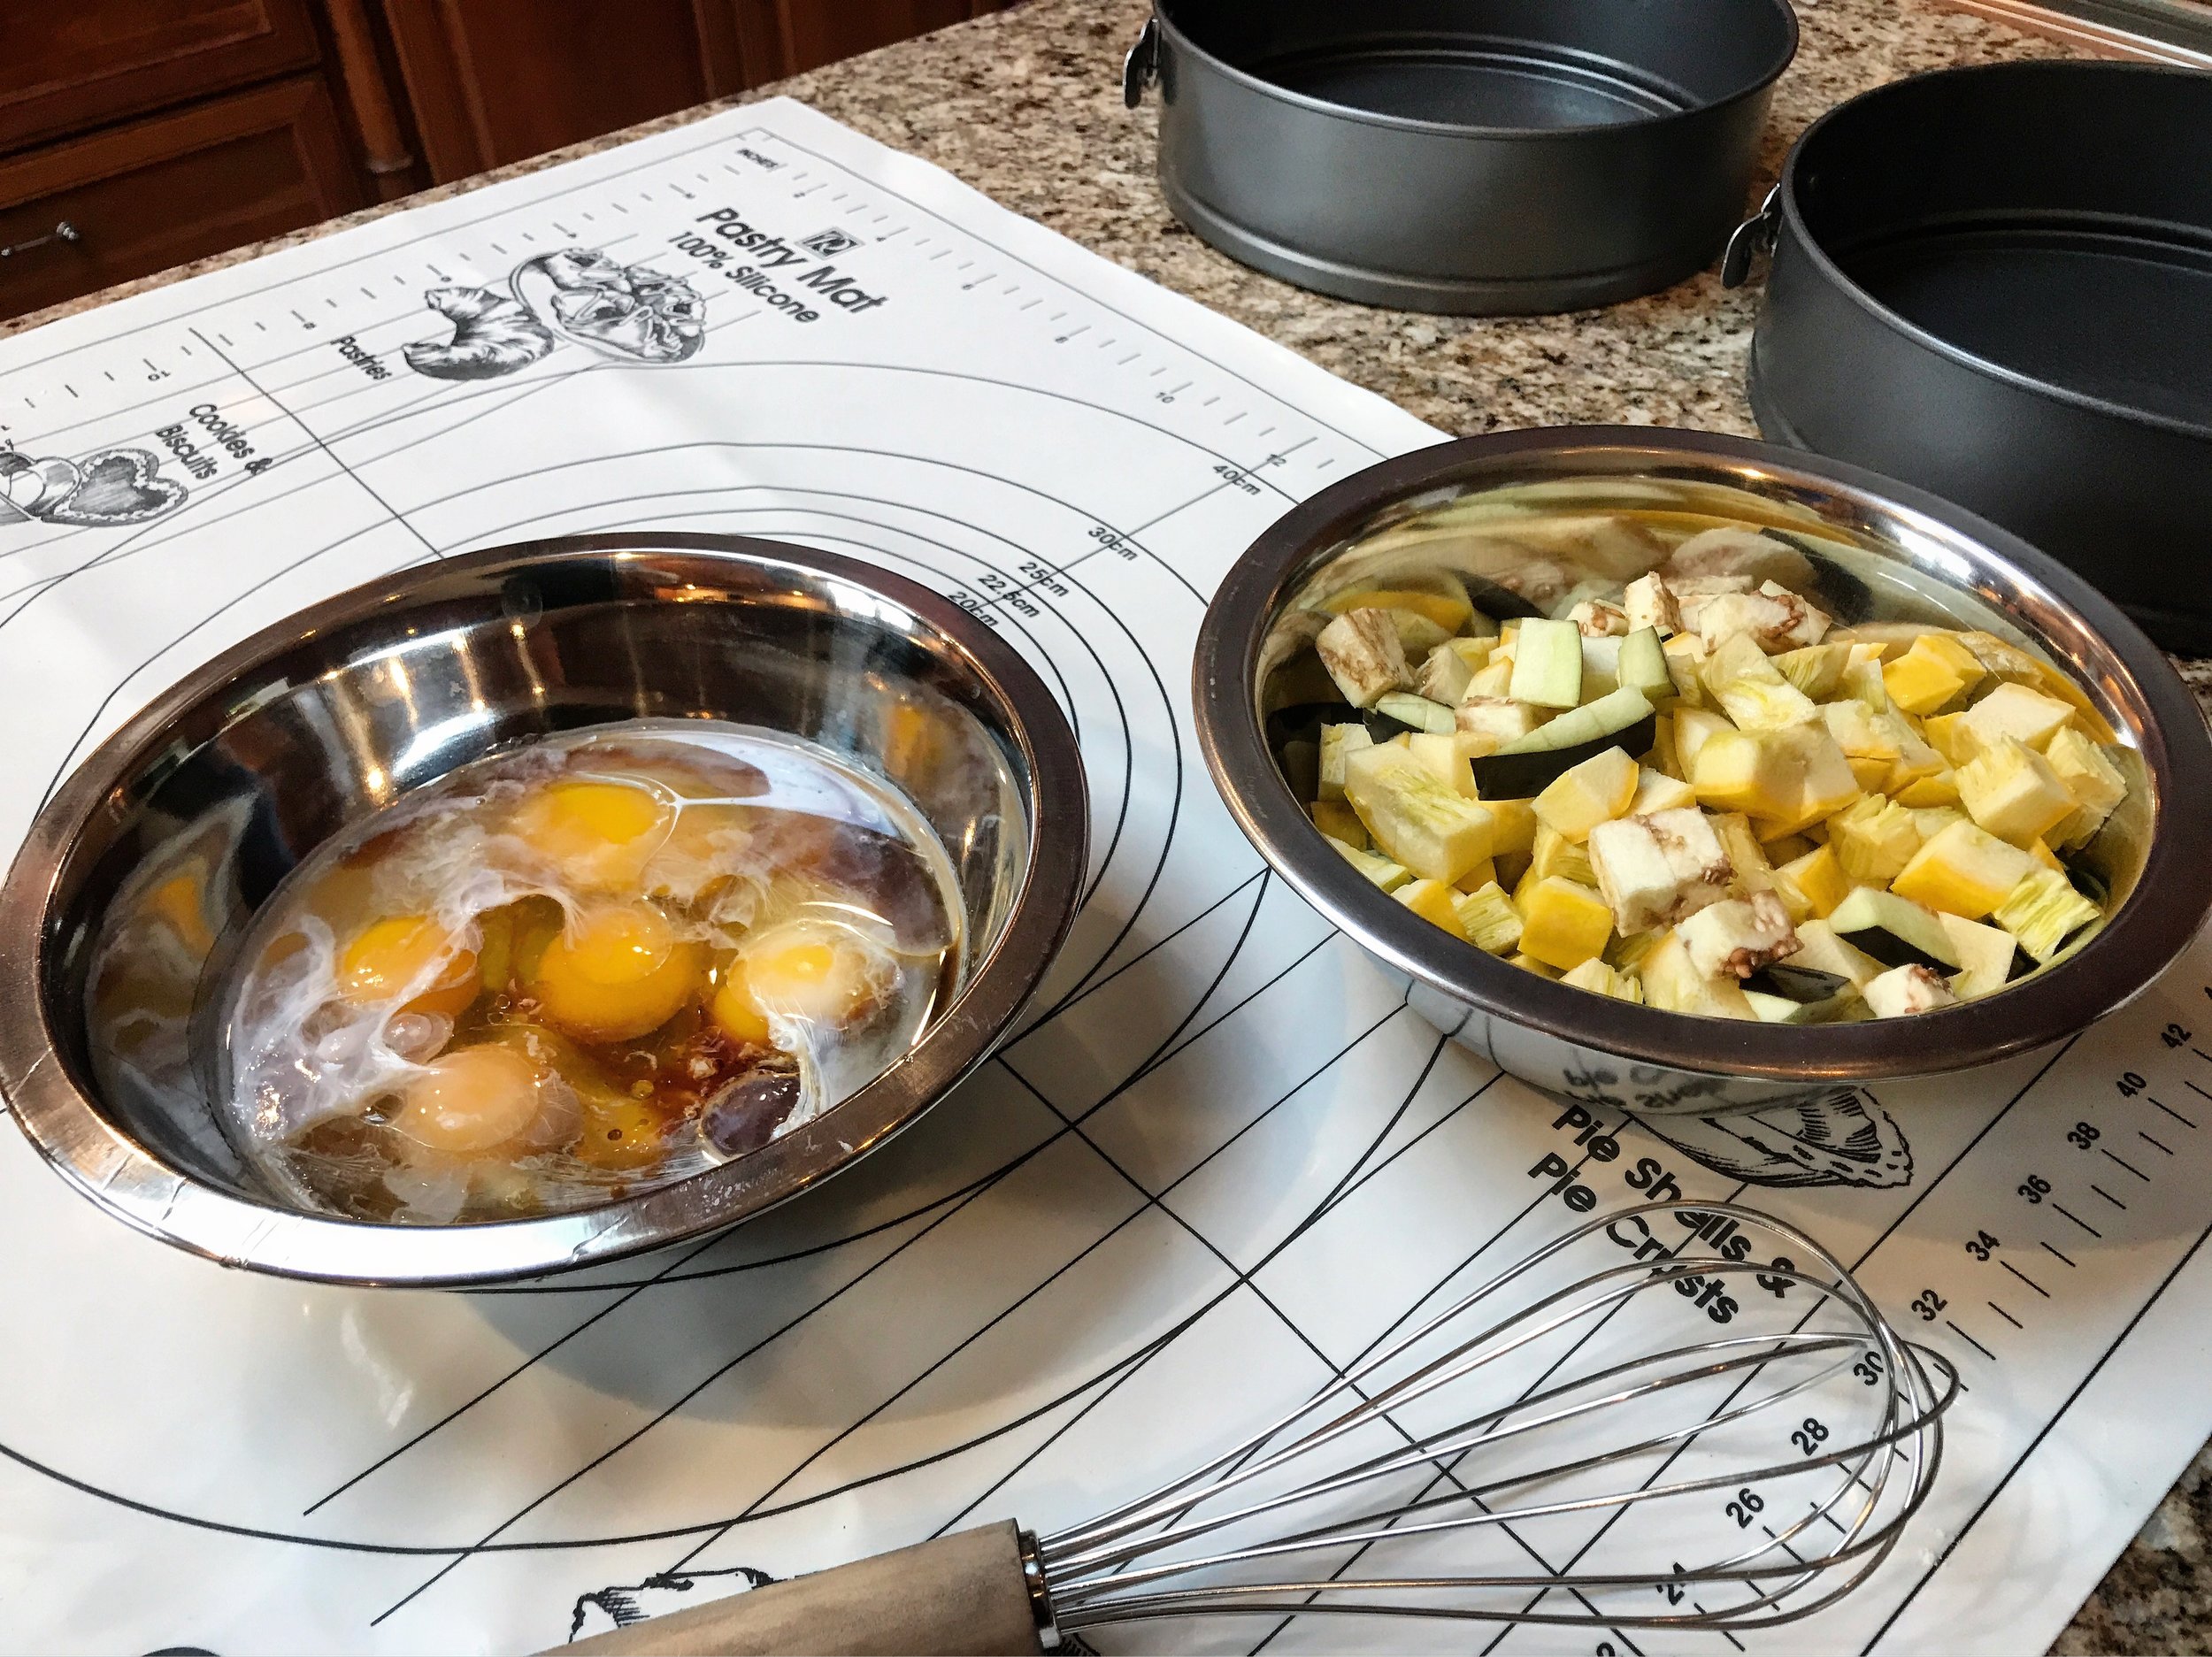
4. Meanwhile slice and chop all other vegetables as needed, then crack eggs into a bowl and continue to let them reach room temperature. (cold eggs take longer to cook)
5. Remove Onion and Mushroom from skillet and set aside, then add a touch of butter to pan and cook thin sliced potatoes for 5-10 minutes until lightly browned. Remove and set aside, then finish by cooking the Asparagus in the same skillet for 5 minutes, till crisp tender..
6. Add half or more of the various vegetables (tomatoes, potatoes, etc.) and pancetta to the tart pan, then sprinkle with 2-3 tablespoons of the cheeses..
7. Now prepare the eggs by just barely melting the room temperature butter and adding it to the eggs along with 2-3 tablespoons of cream, salt, pepper and cayenne. Whisk gently, but be careful not to over-beat the eggs-then pour into your tart pan..
8. Finish by adding more of your cooked ingredients, as well as a few sliced tomatoes and a last sprinkling of cheese-then place into the oven to bake for 20-25 minutes (or until just set, but be careful not to overcook). Let the frittata cool for a few minutes before unwrapping foil and removing it from the pan..
Garnish with fresh chopped parsley and enjoy..